Install Windows on Your Mac Using a Virtual Machine
1. Downloading VMware Fusion
First, we need to download VMware Fusion. VMware Fusion Pro is now free for personal use, making it an excellent choice for running Windows on your Mac.
Go to the VMware Fusion Download Page.
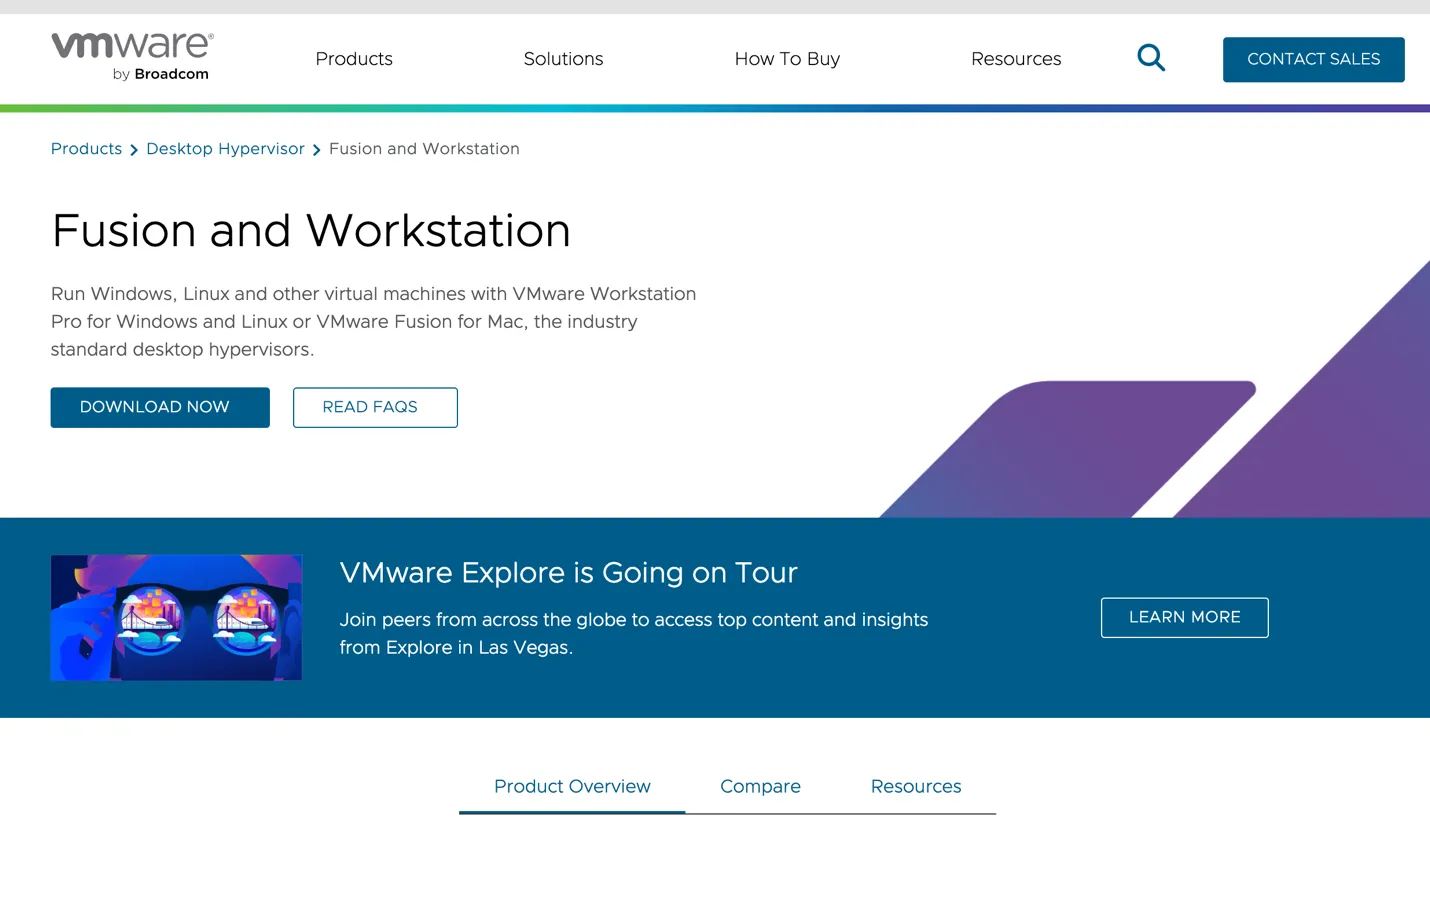
Click Download Now. You will need to create a Broadcom account and log in if you haven’t already.

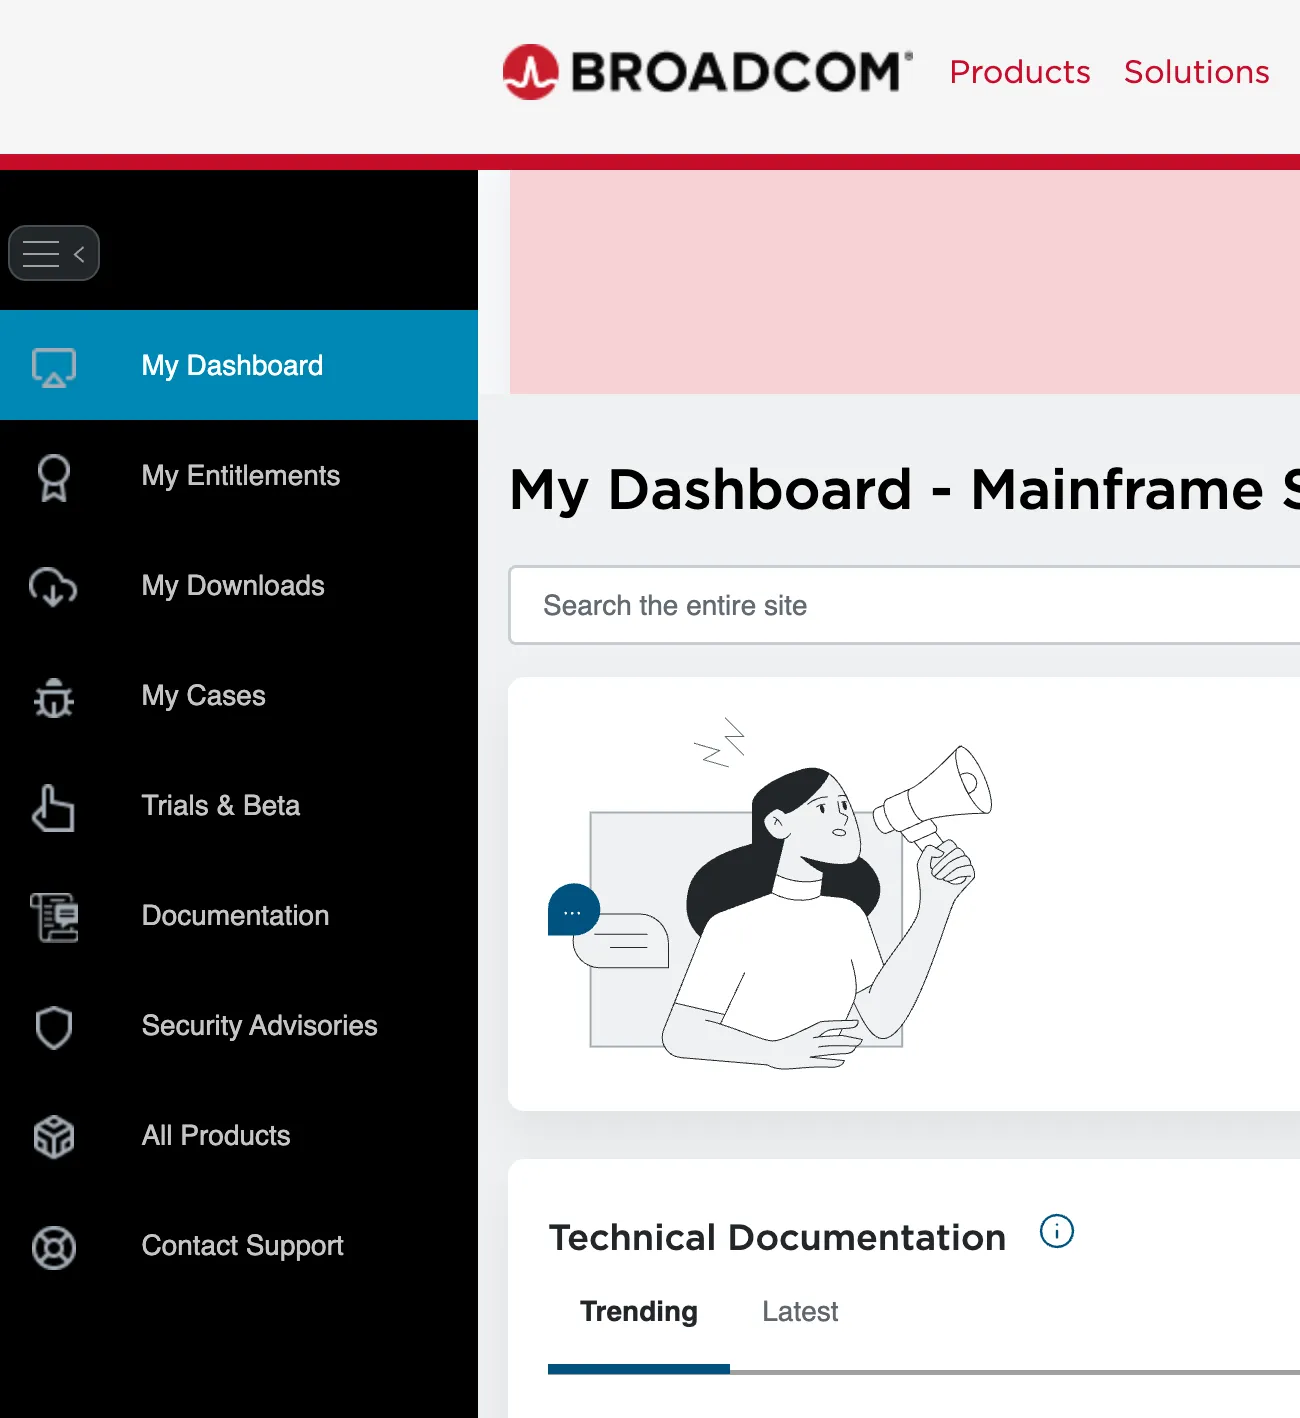
Accessing Free Downloads
Navigate to the “My Downloads” section. You might need to look for the “Free Downloads” link specifically for personal use versions.
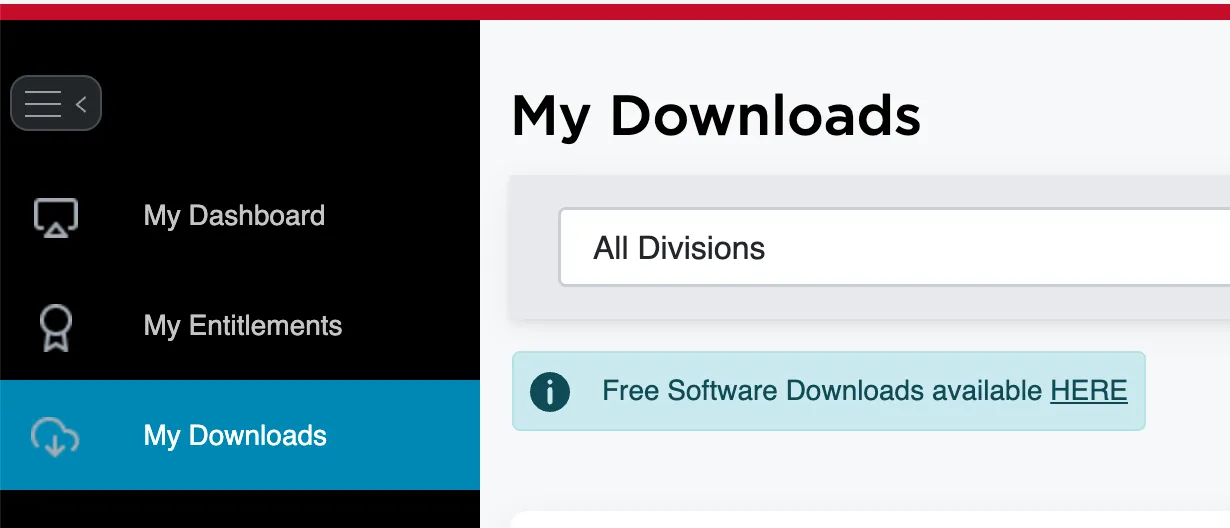
Click HERE to jump directly to the free downloads section.
https://support.broadcom.com/group/ecx/free-downloads
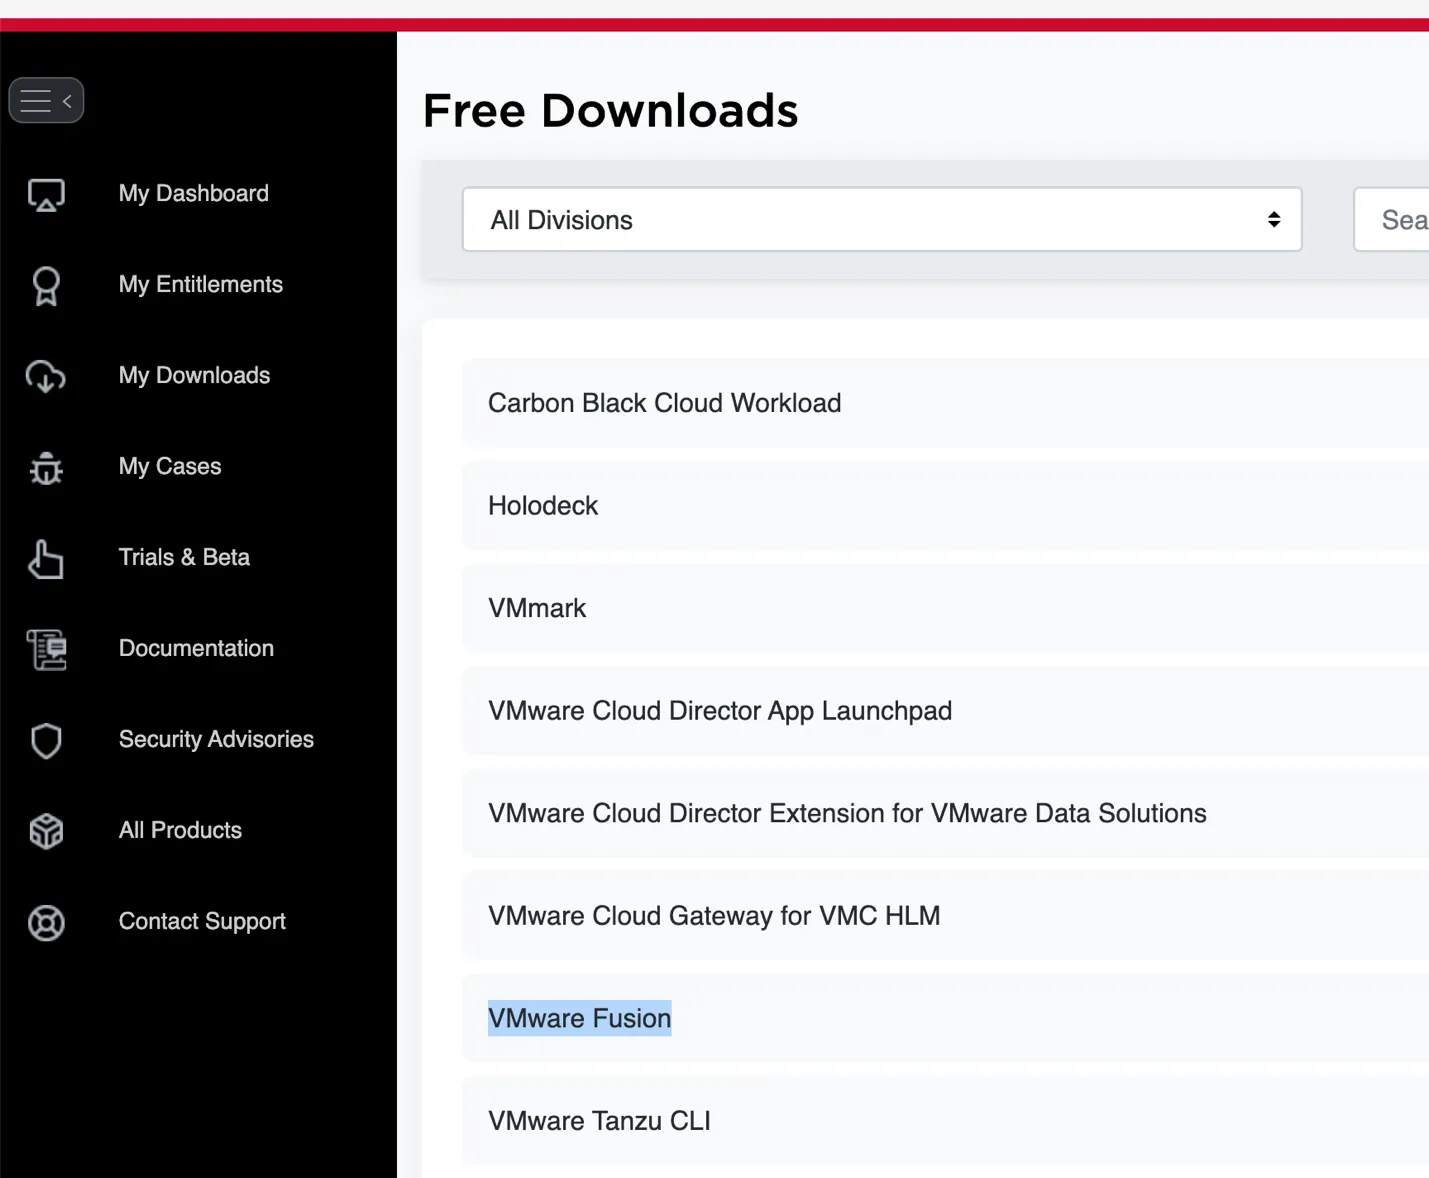
Select VMware Fusion from the list.
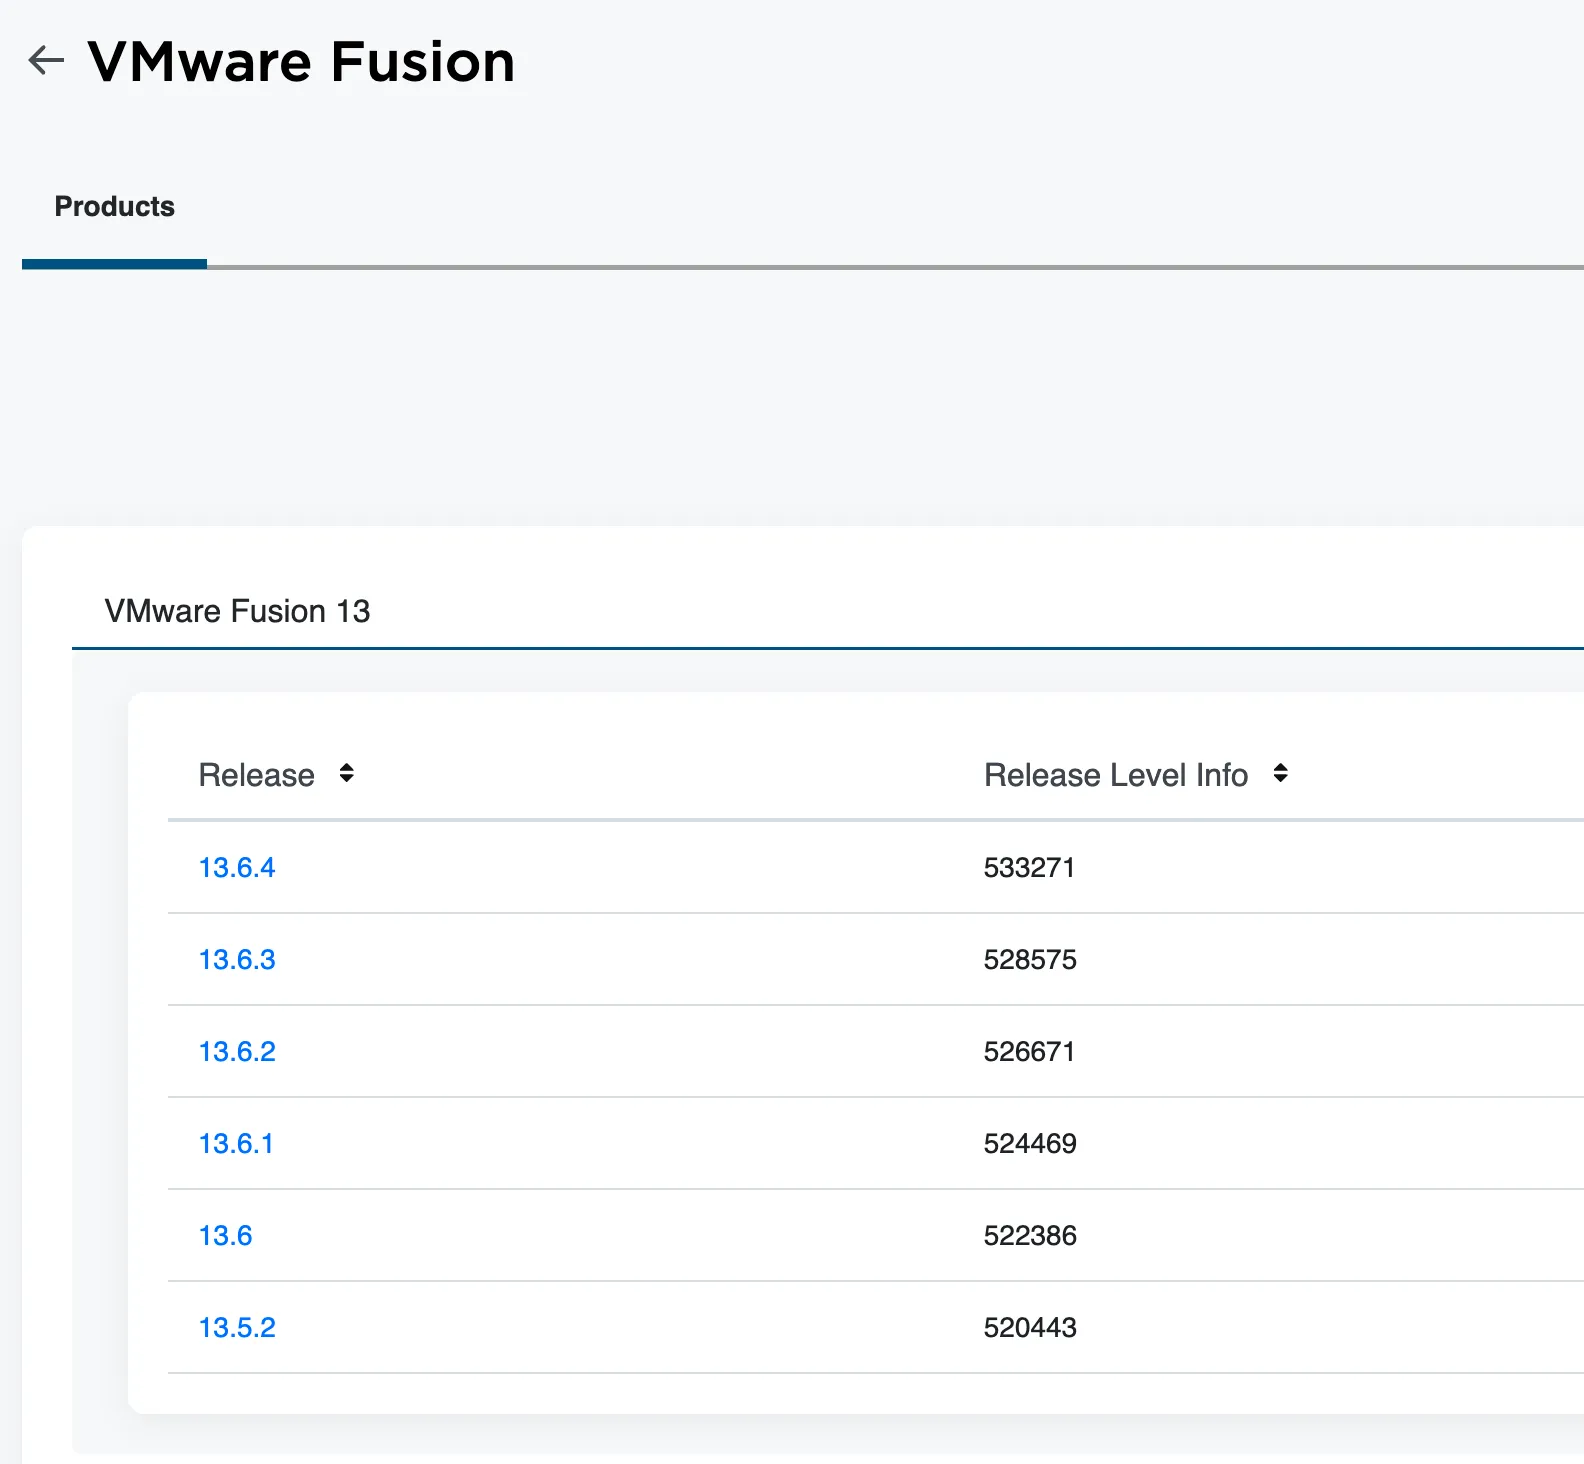
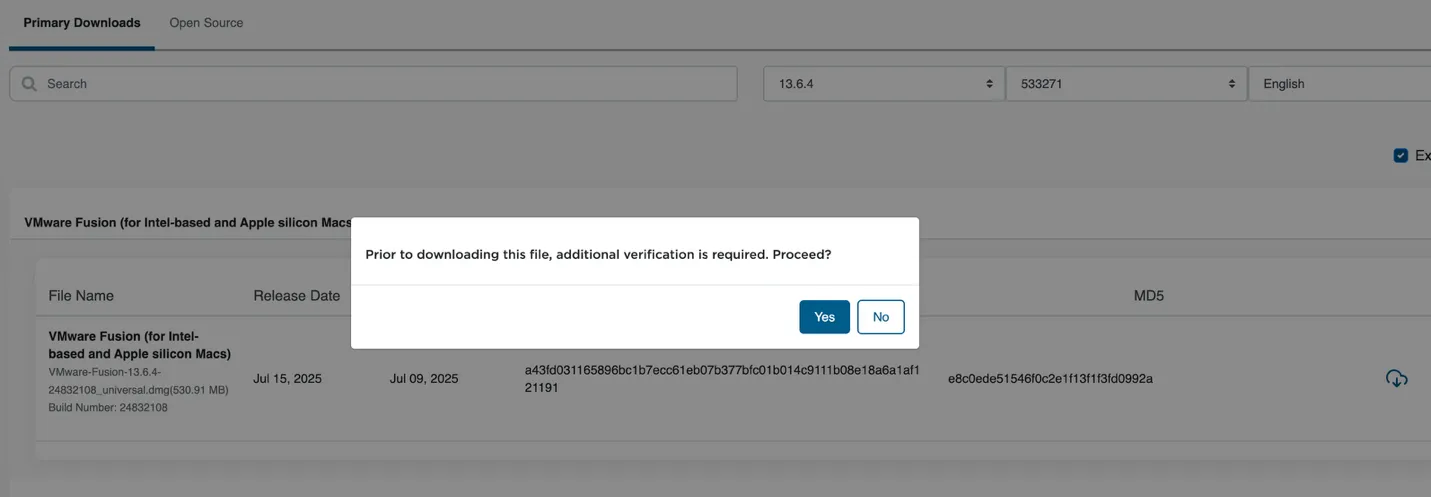
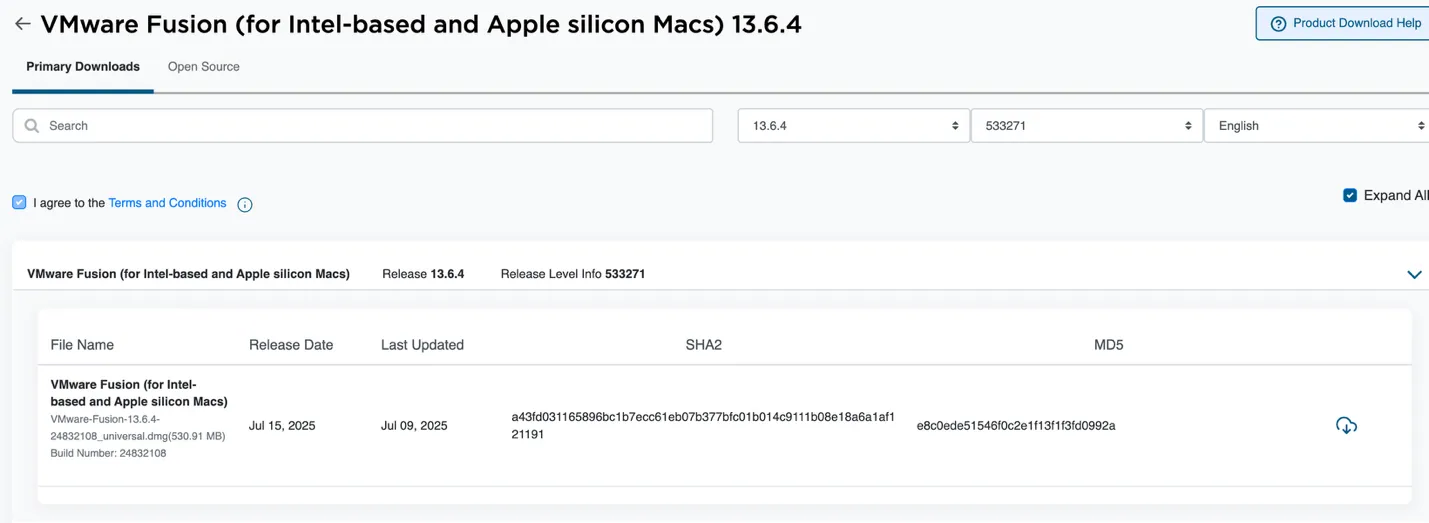
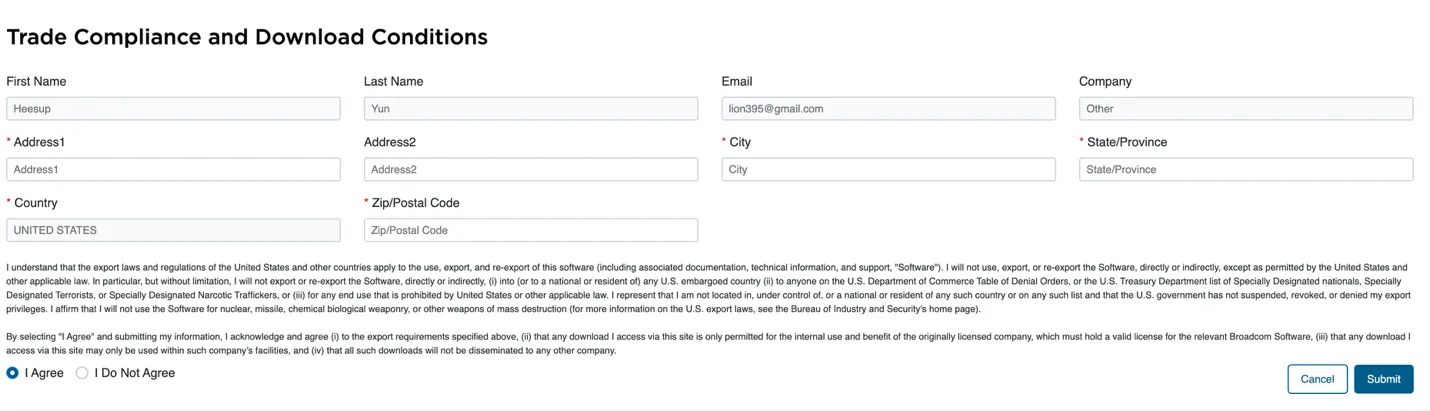
Follow the prompts to download the software. Note that you may need to provide some additional configuration or “Export Control” information during this process.
2. Installing Windows via VMware Fusion
Once VMware Fusion is installed, launch it. The latest versions of VMware Fusion make the Windows installation process remarkably simple by automating the download and setup of the Windows ISO.
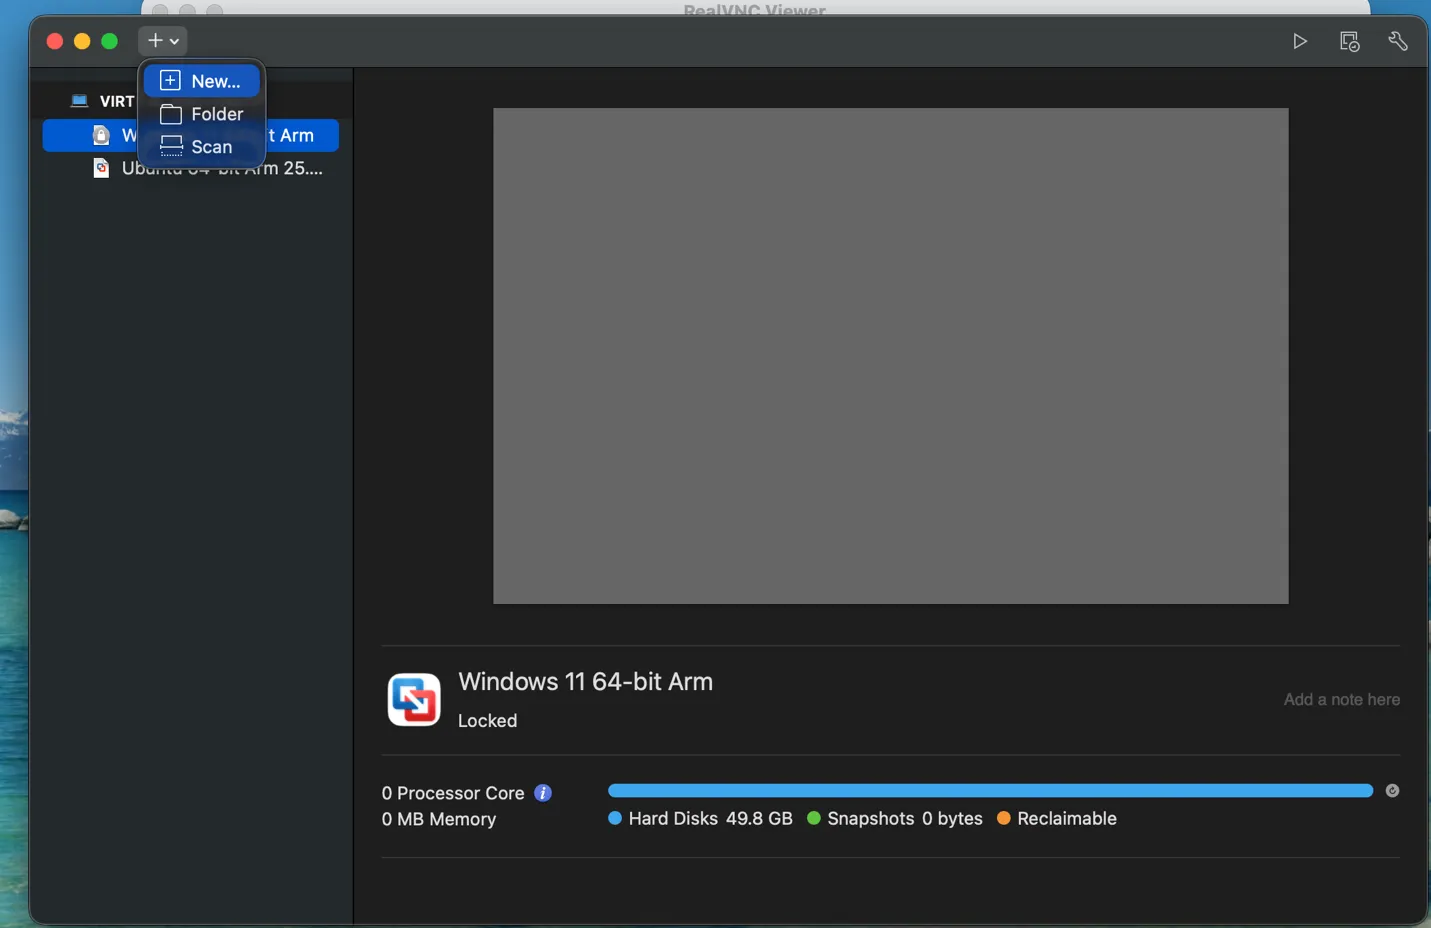
Creating the Virtual Machine
Follow the wizard to create a new virtual machine. VMware Fusion can now fetch the Windows installation files directly for you.
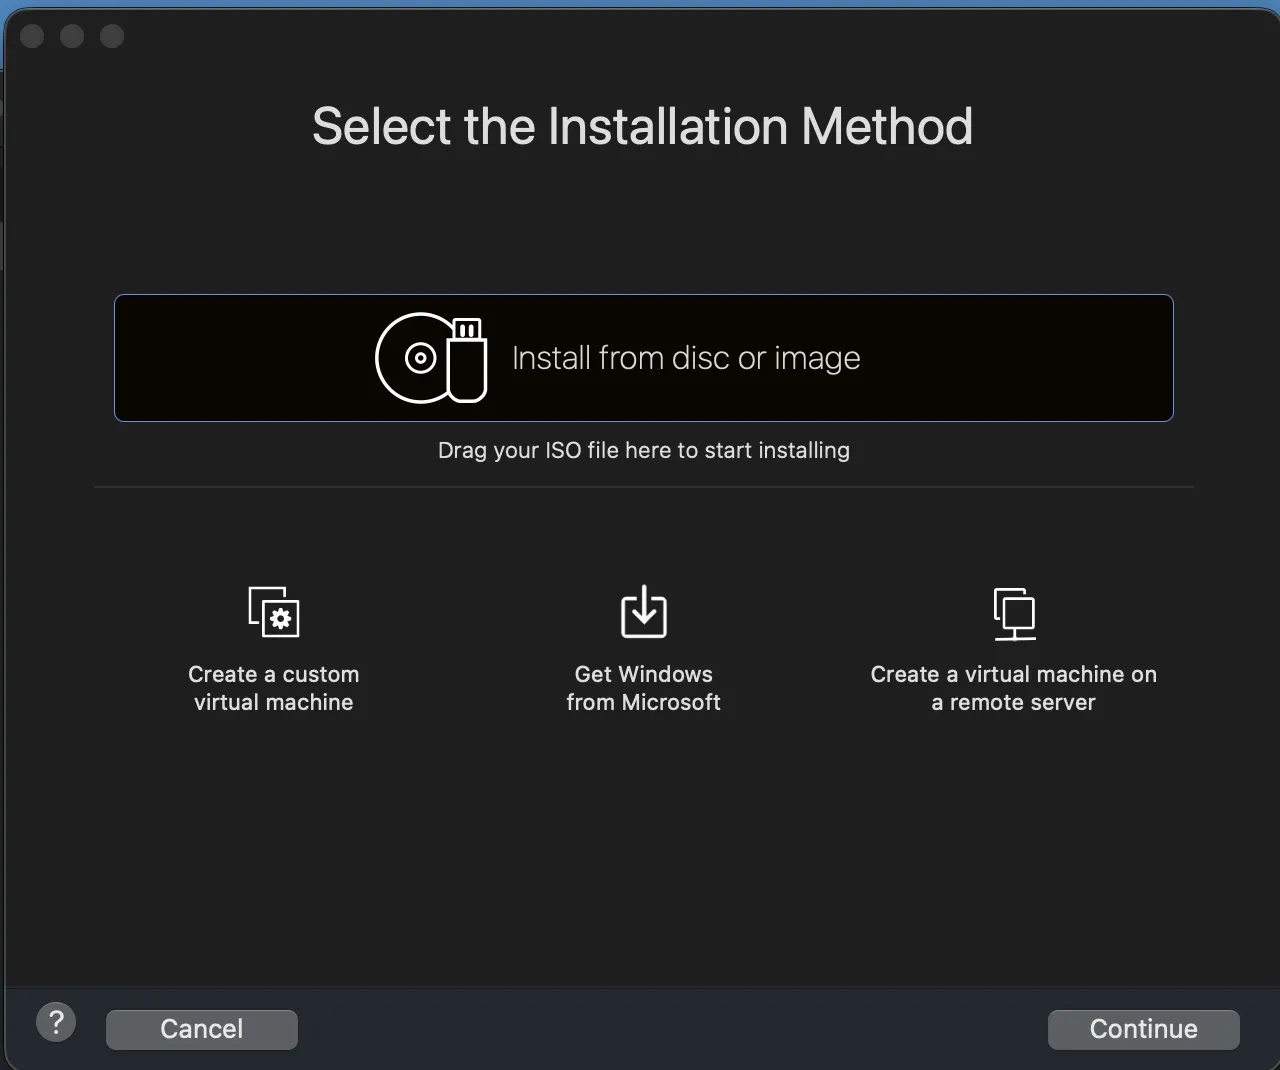
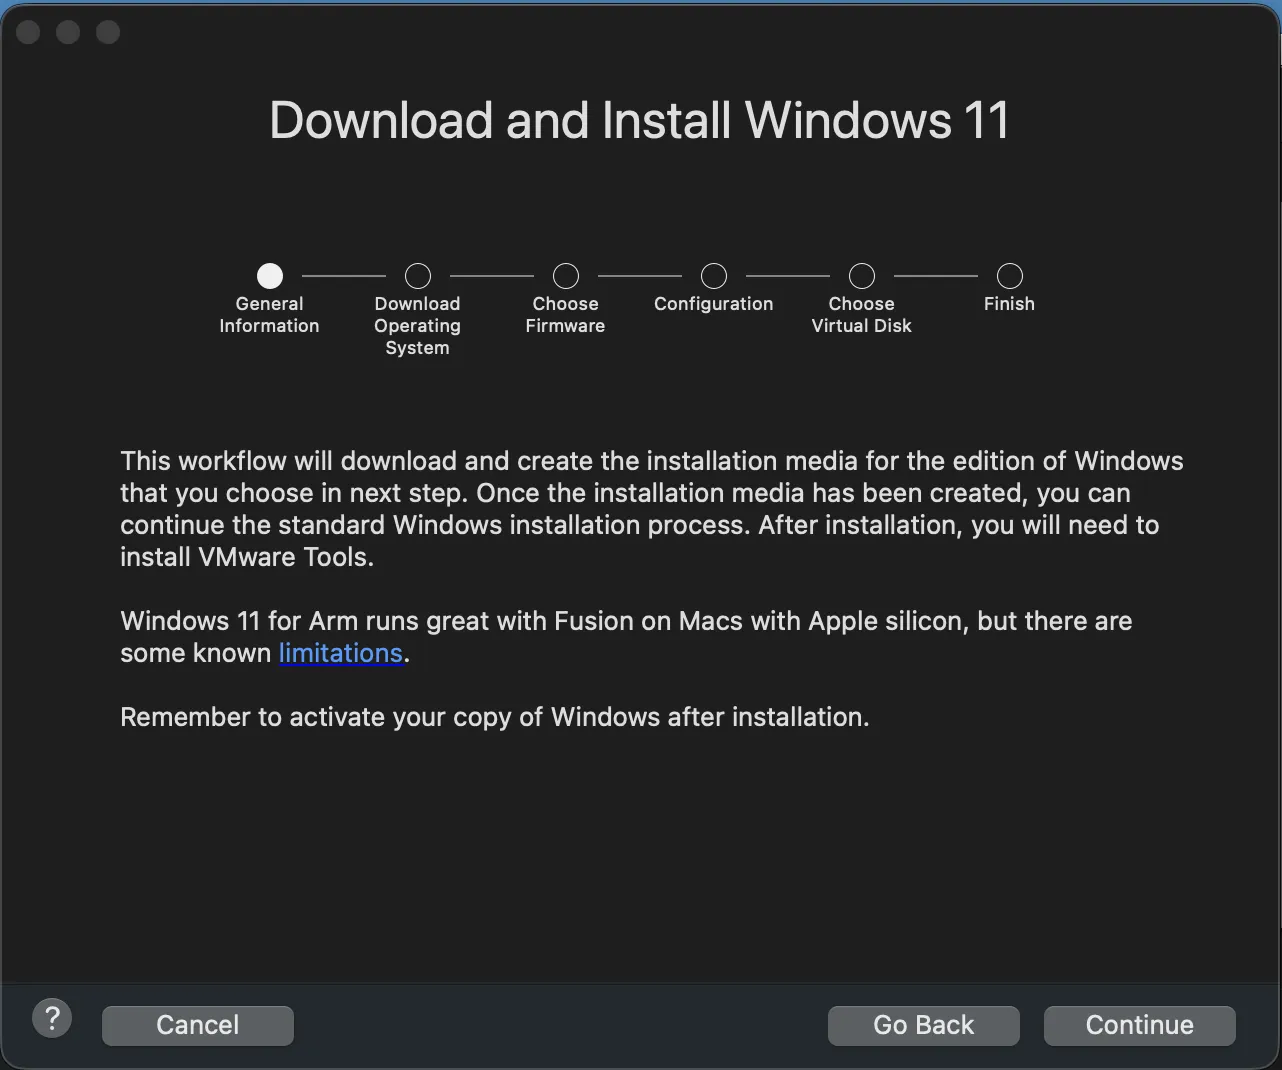
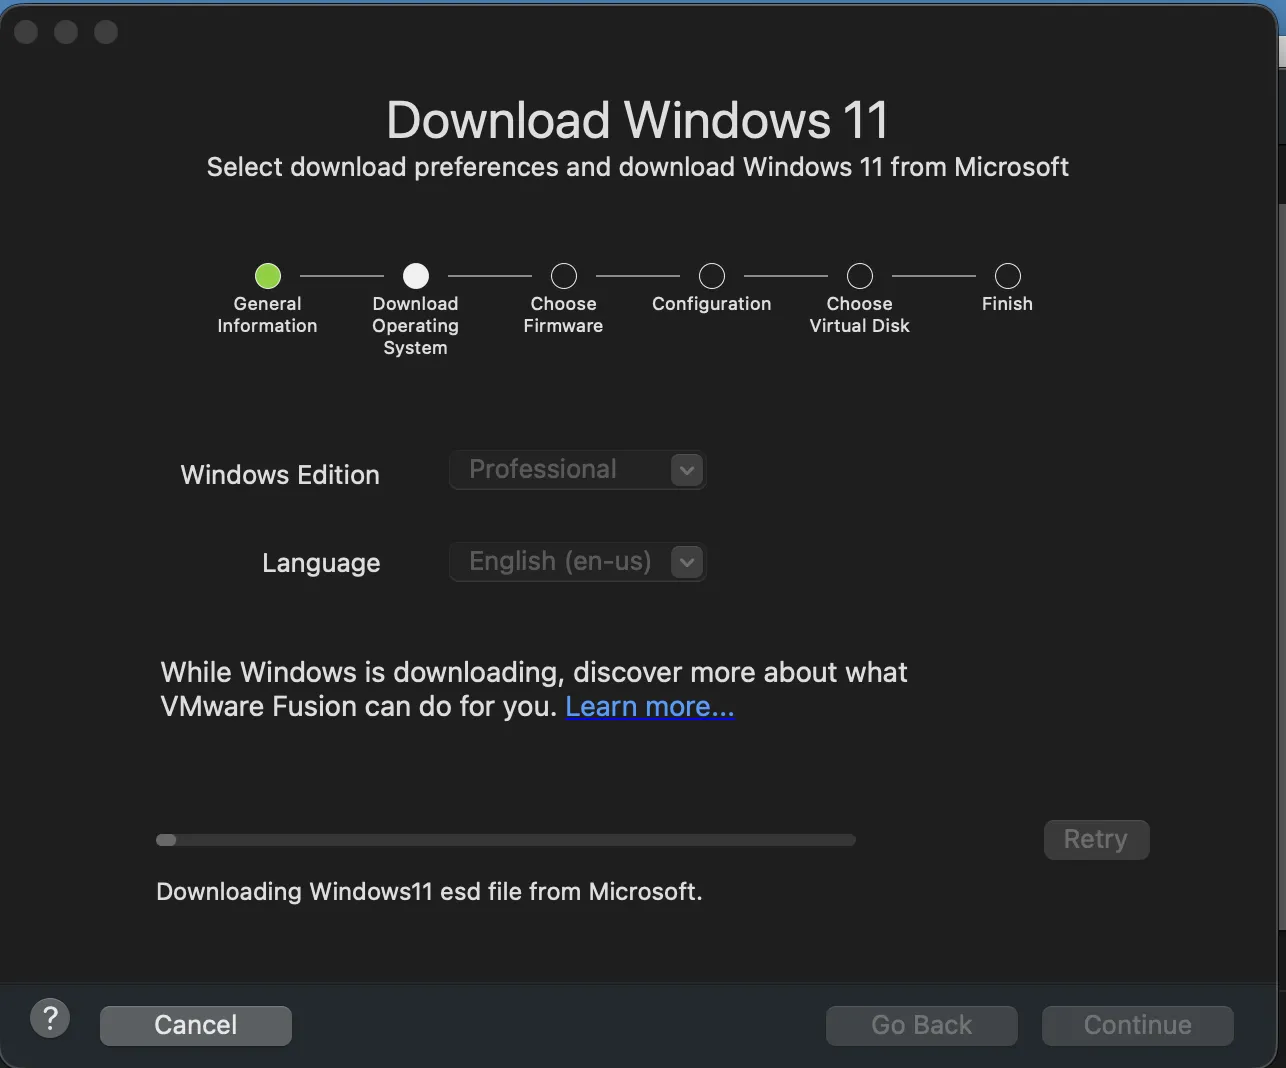
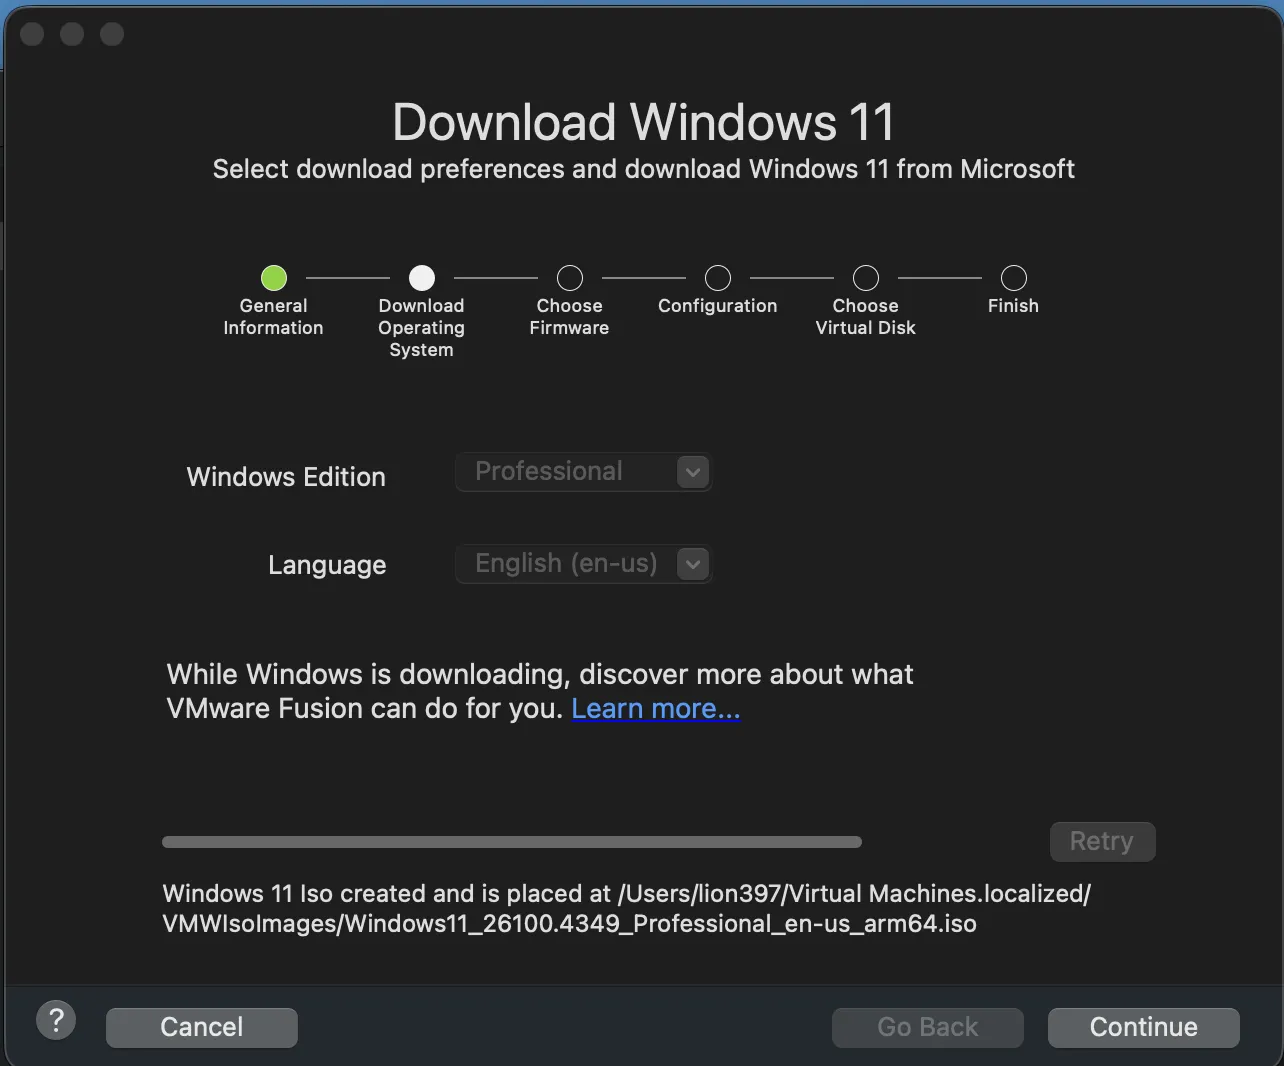
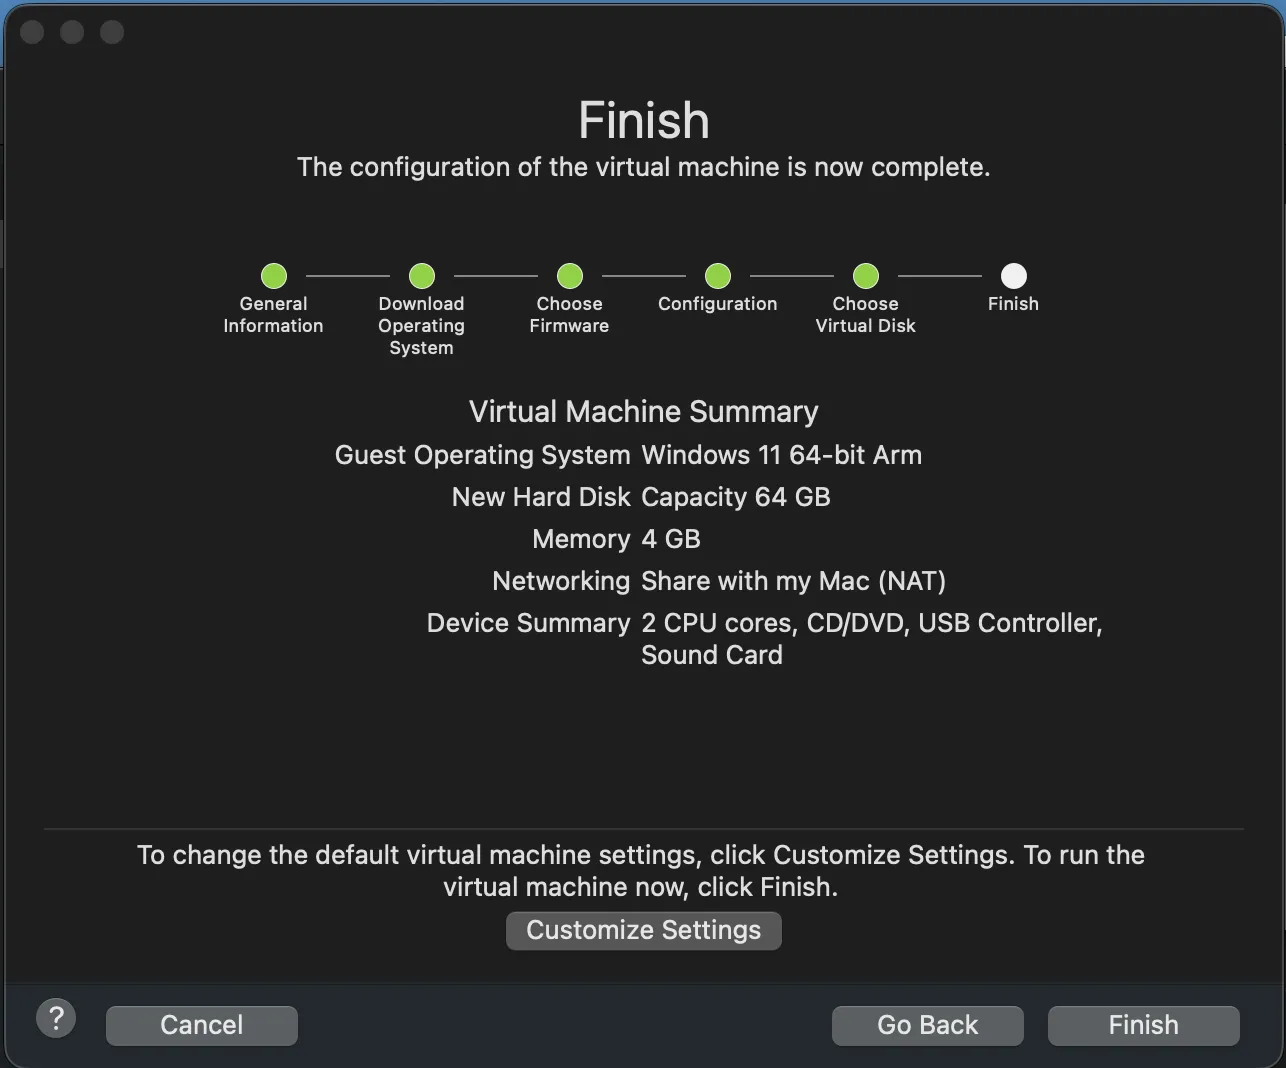
Assign appropriate resources to your Virtual Machine (CPU, RAM, and Disk Space).
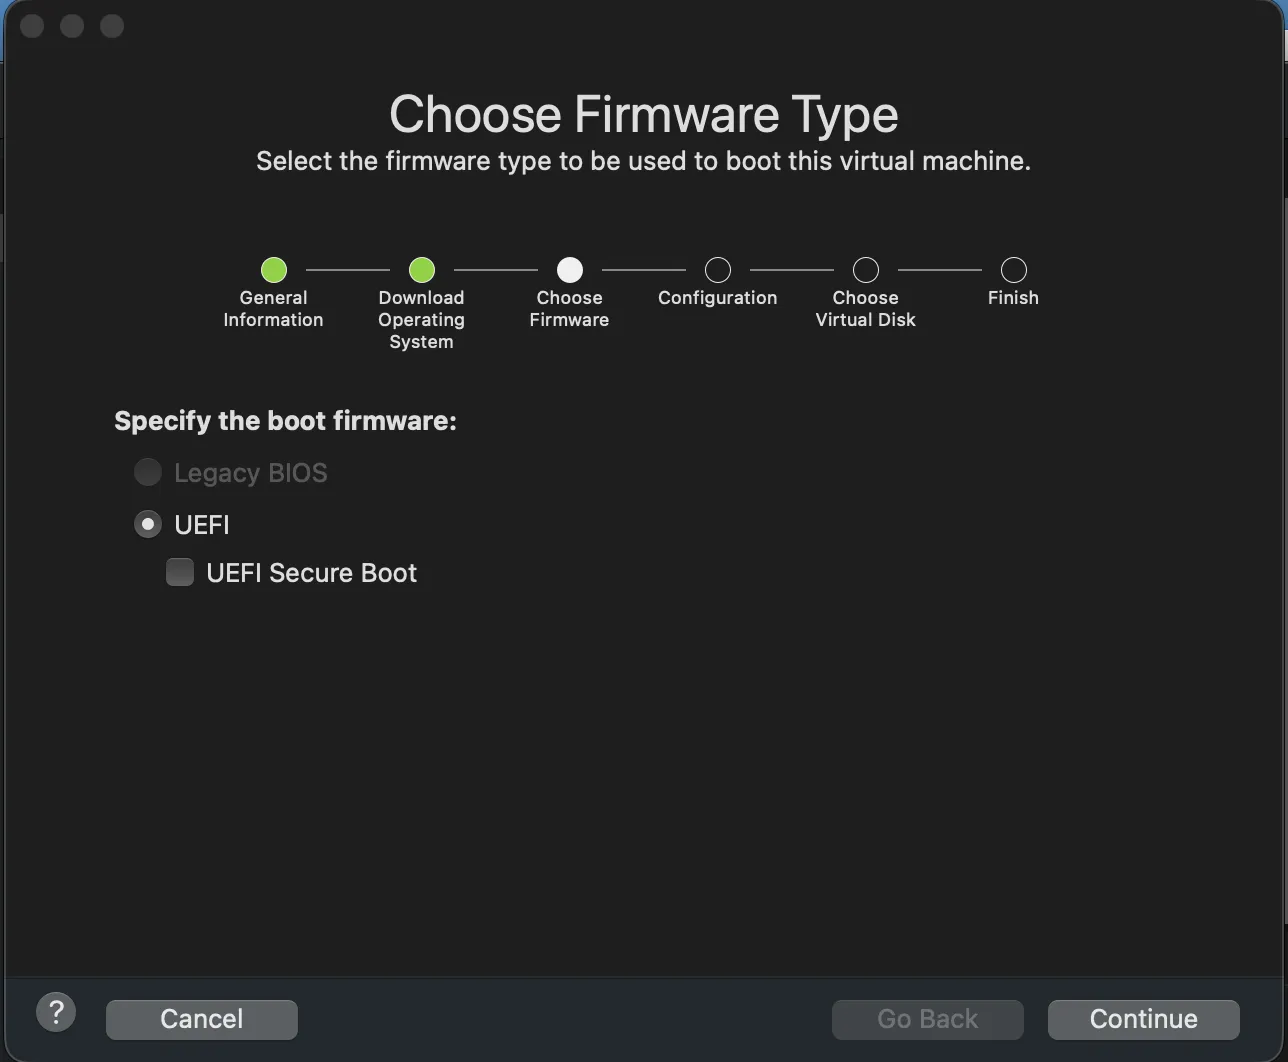
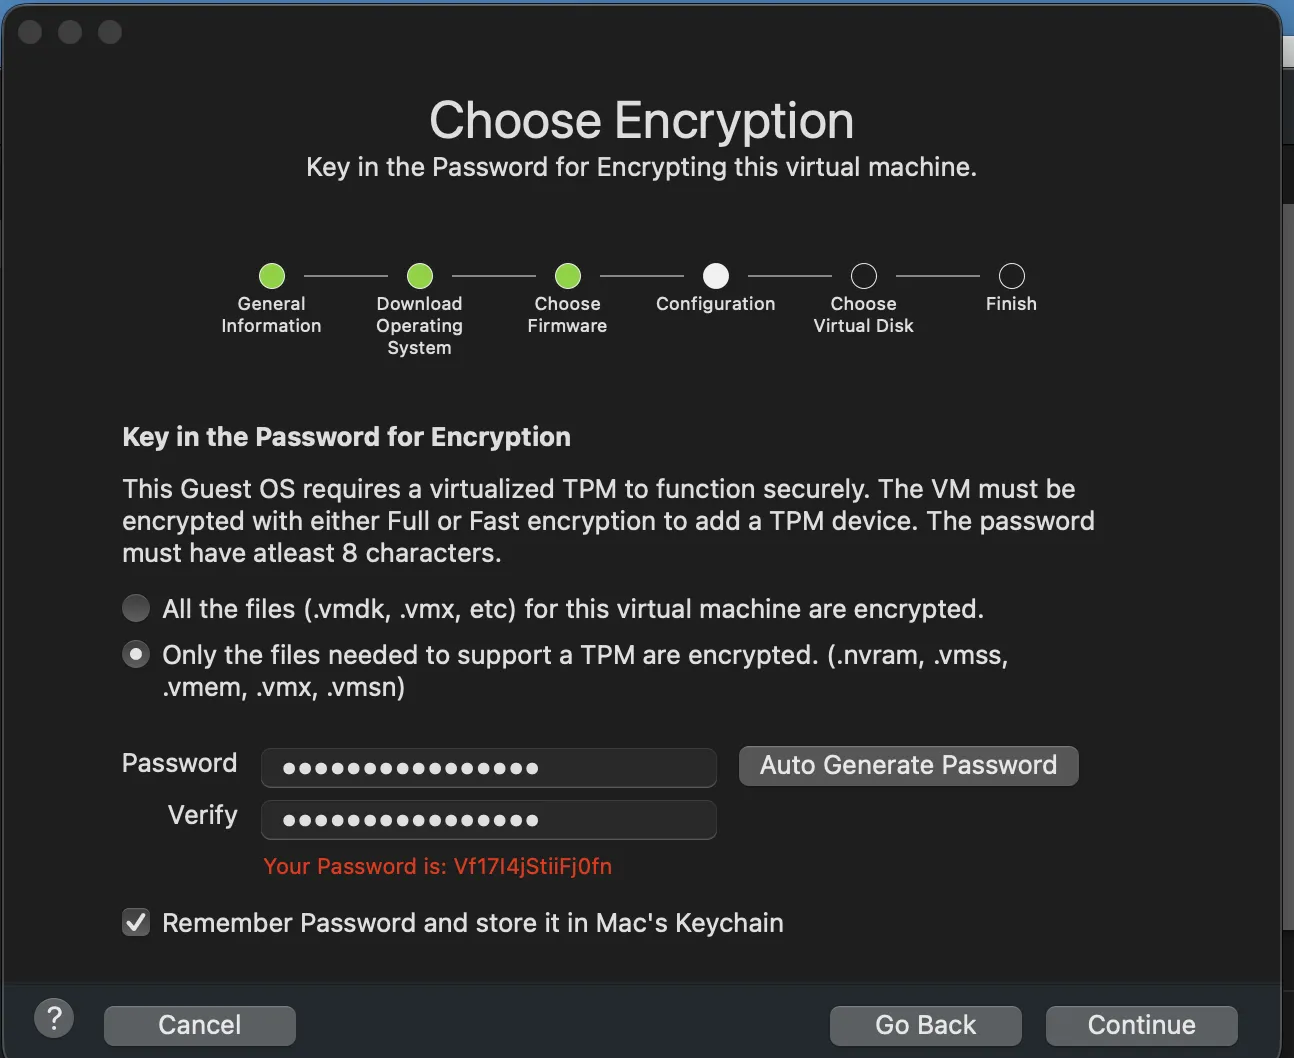
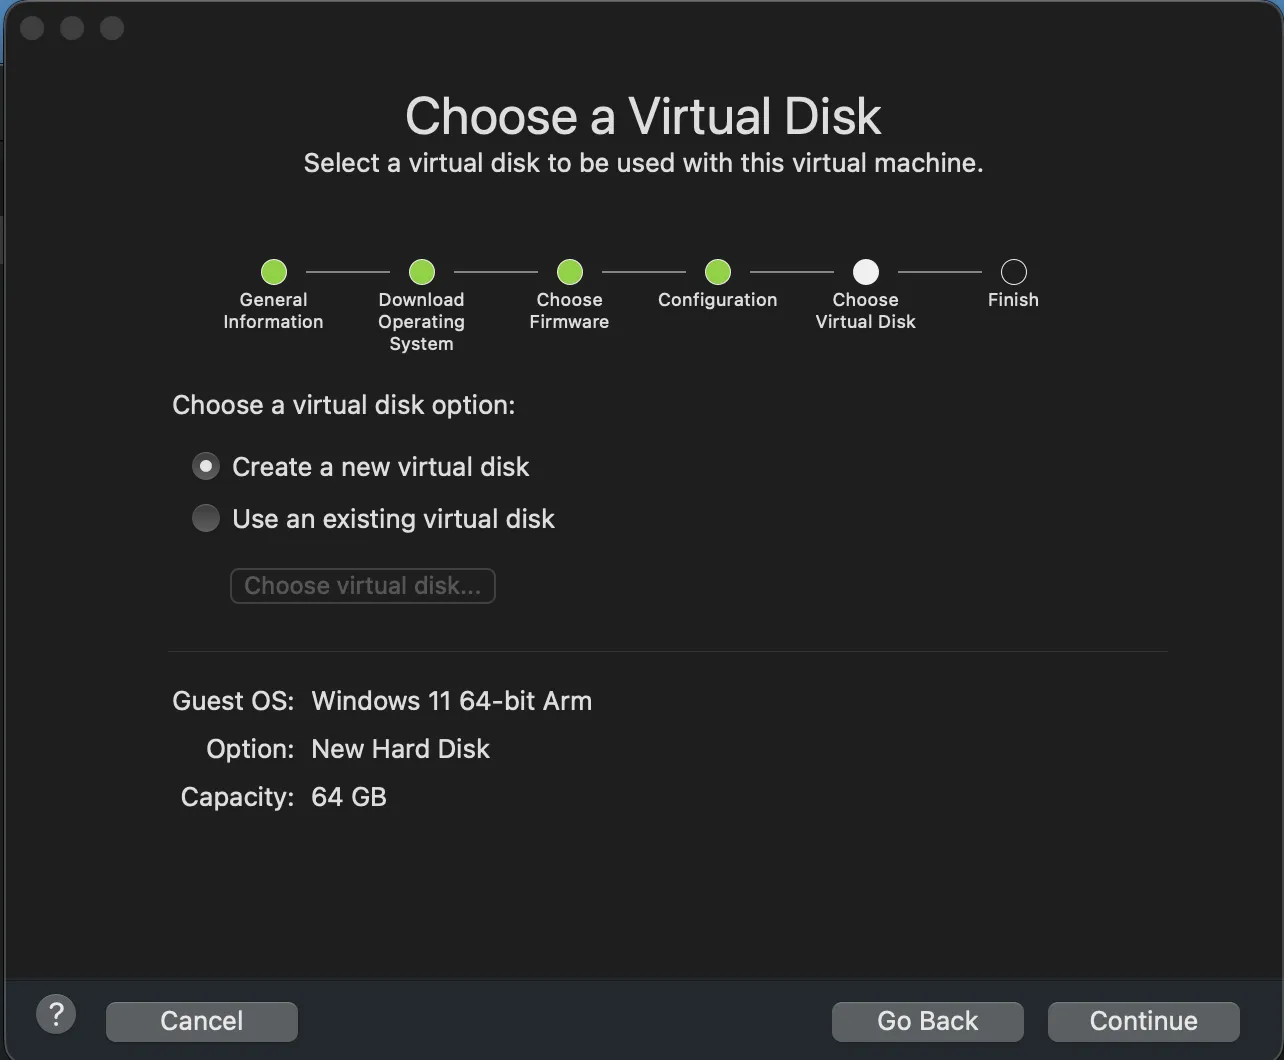
Finalizing the Virtual Machine
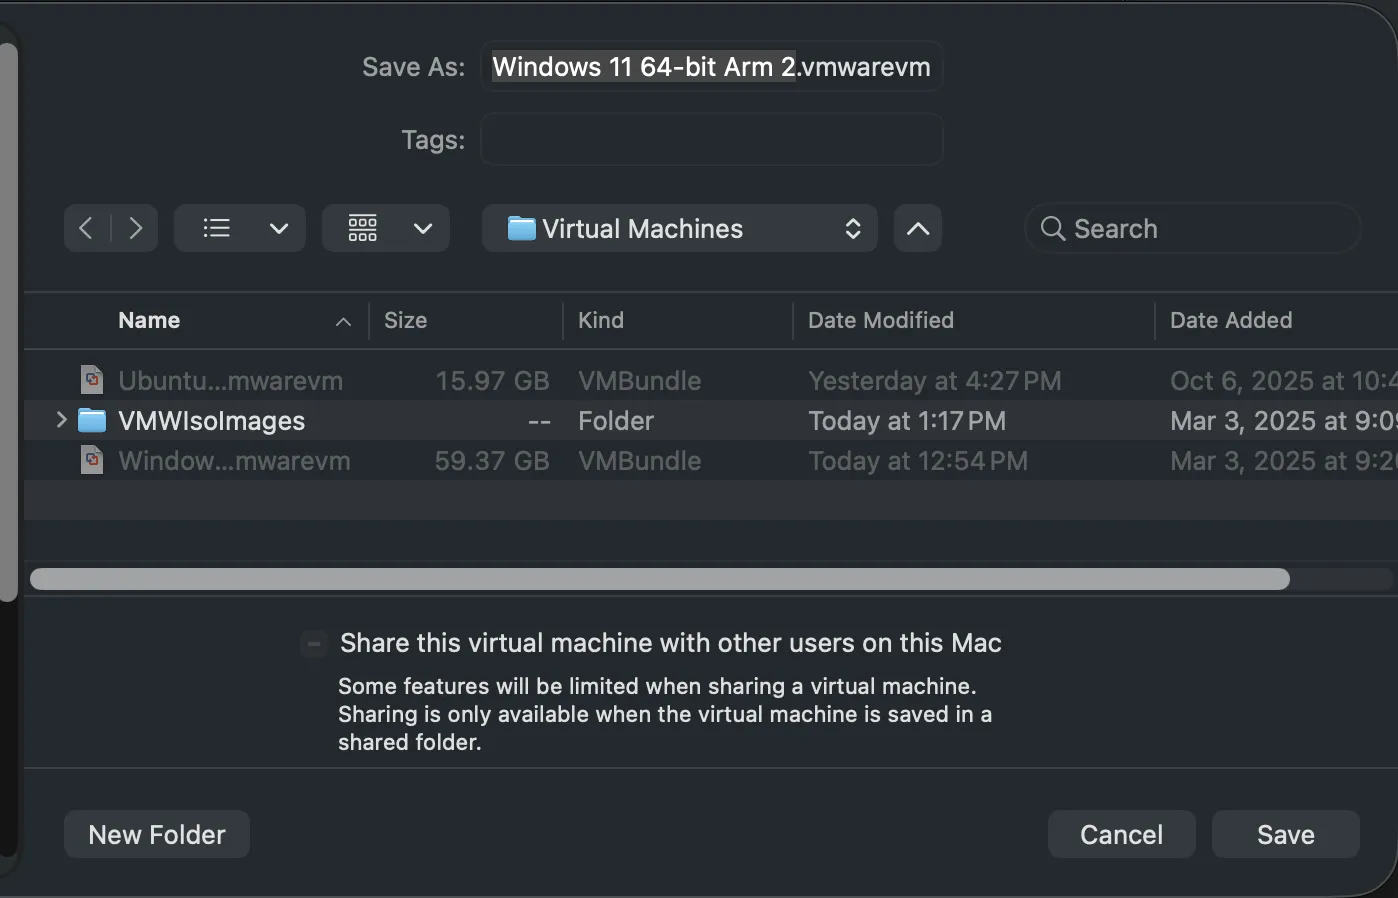
Review your settings and click “Finish” to create the virtual machine shell.
3. The Windows Setup Process
Now, start the virtual machine. You will see the familiar Windows installation environment.
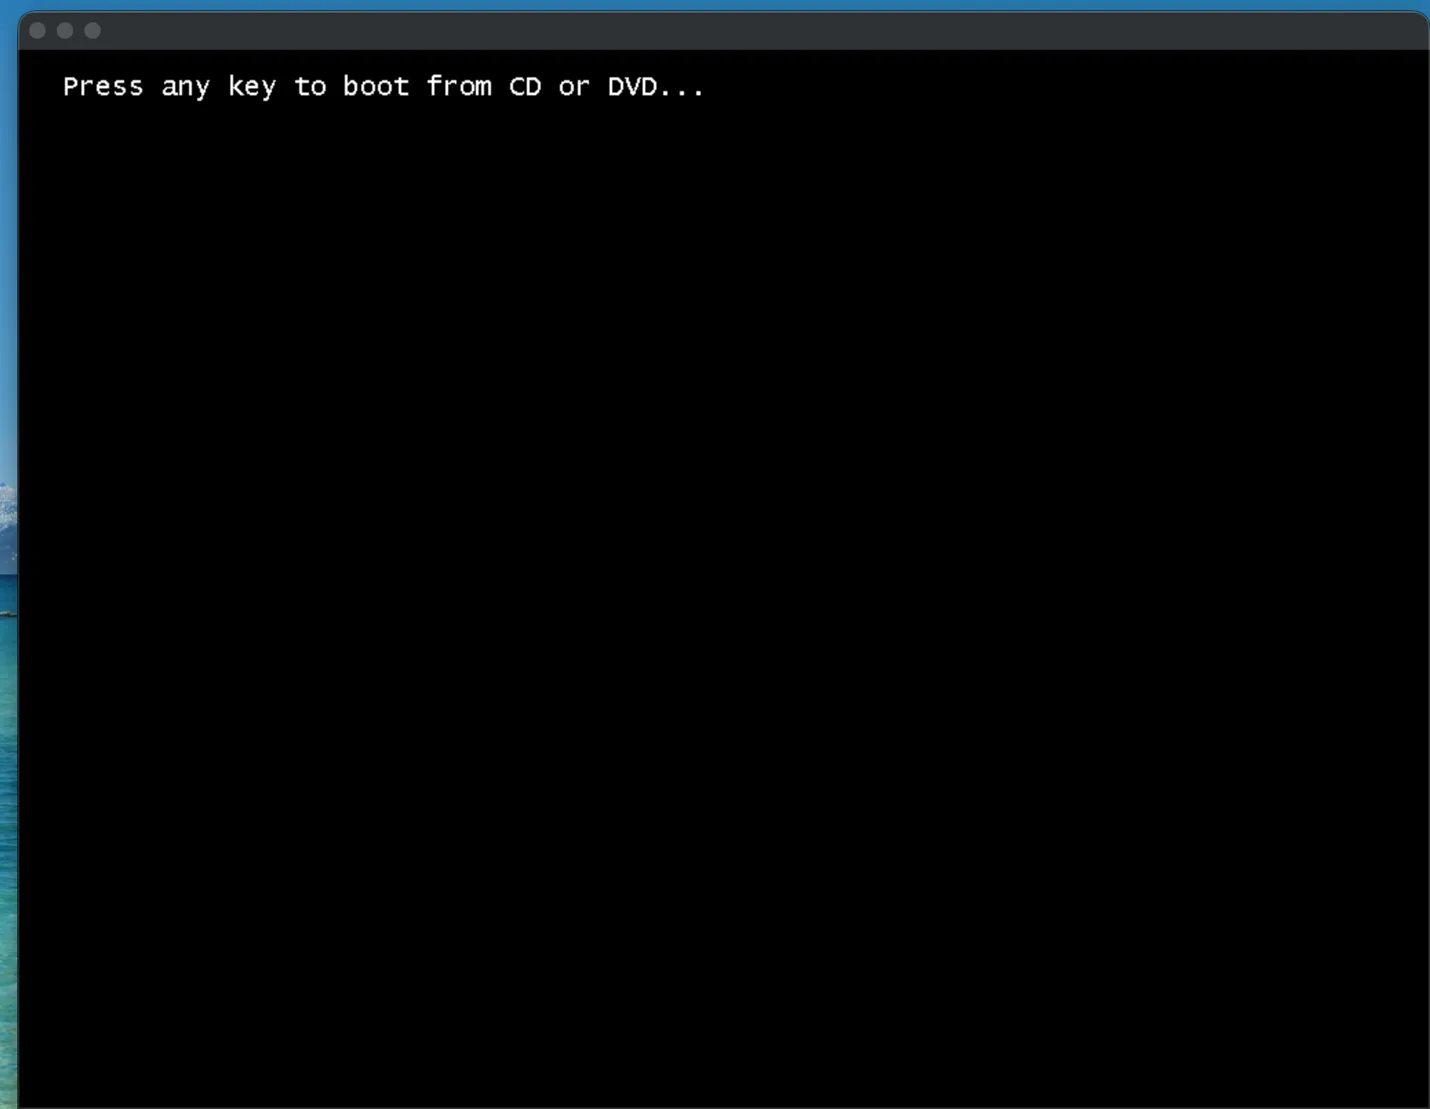
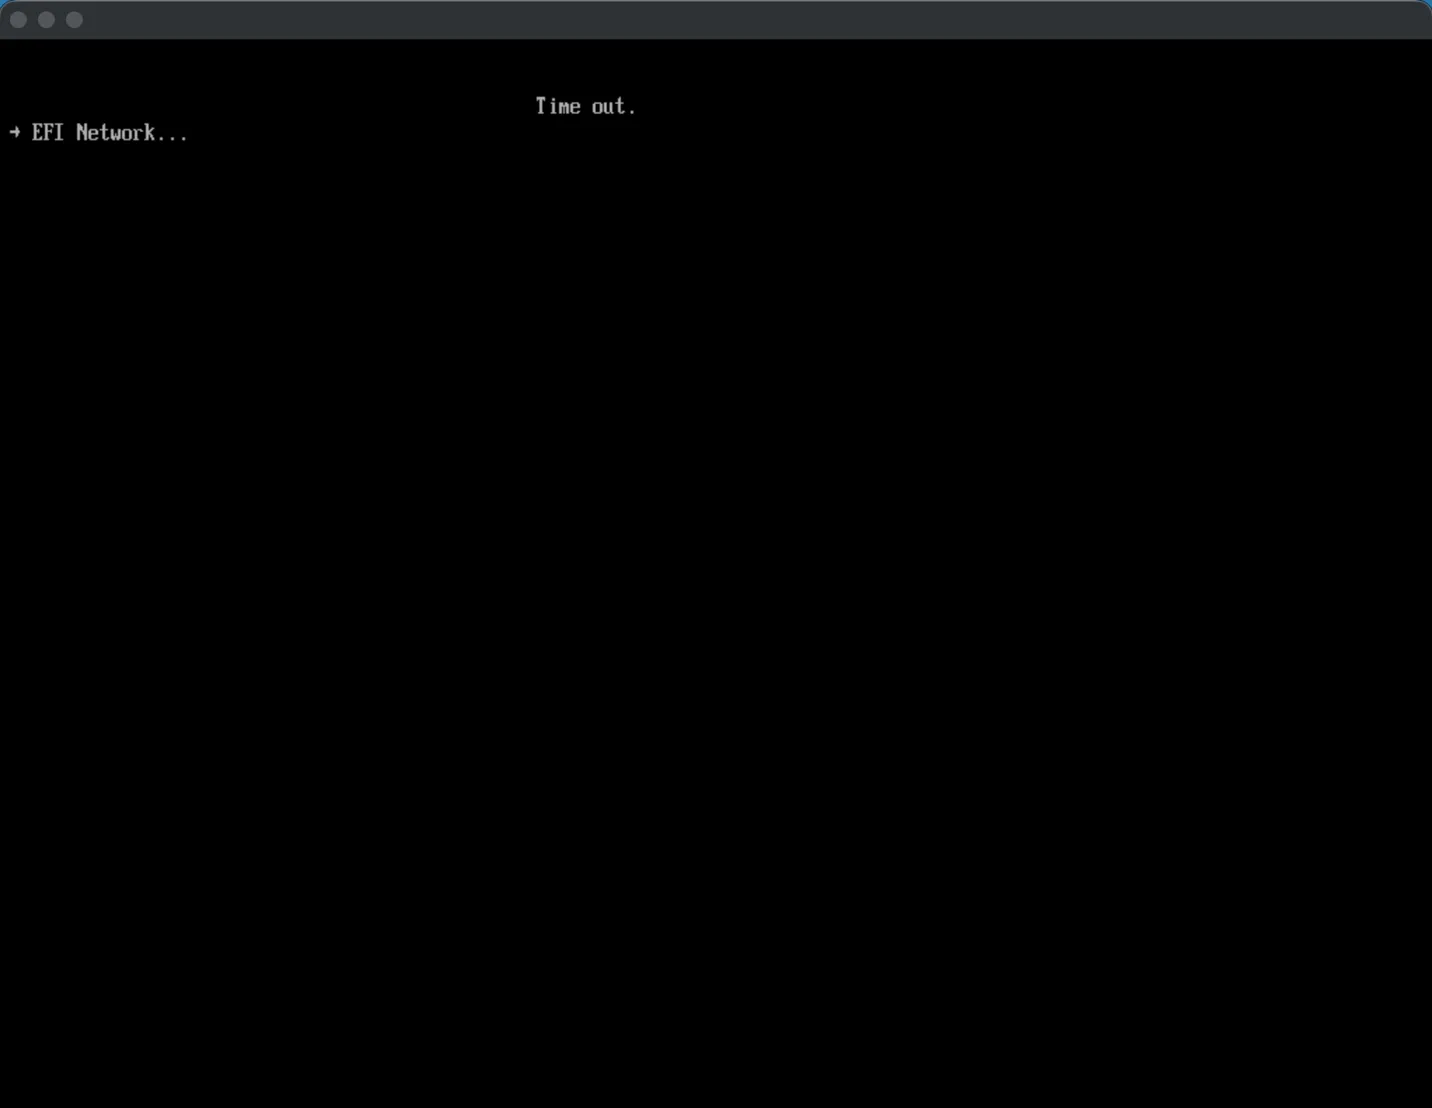
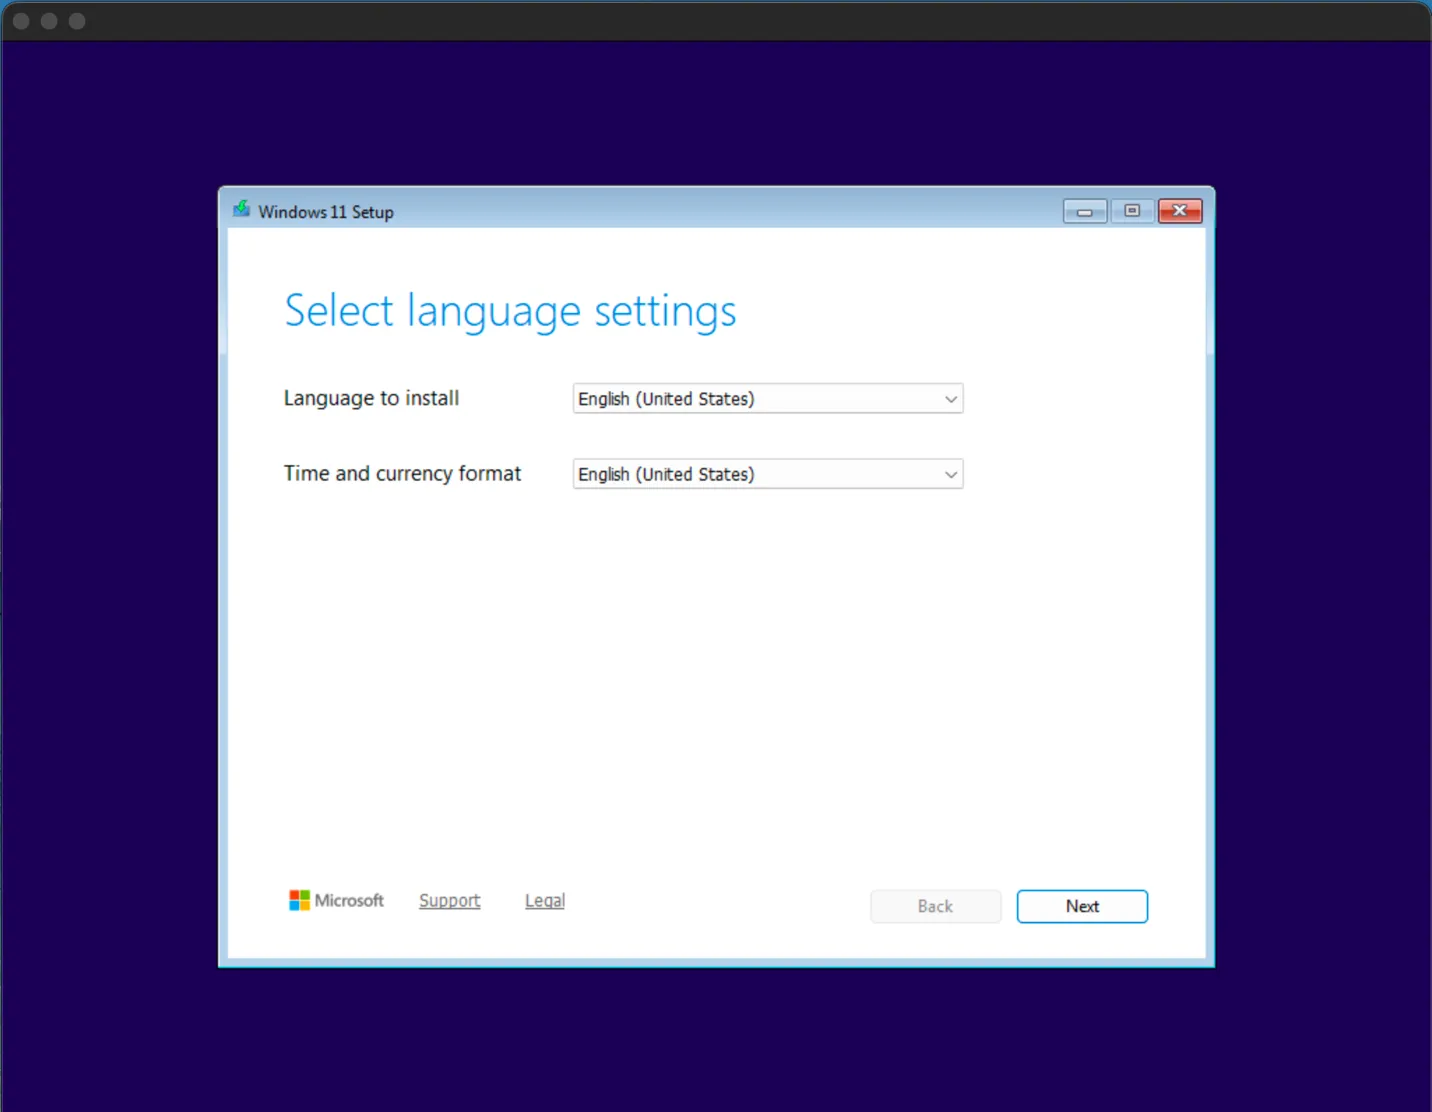
Proceed through the Windows installation as you would on any other computer. Follow the on-screen prompts to choose your language, region, and user account settings.