Build Drones: Assembling and Tuning the Tarot 650 Sport
Following my decision to upgrade from the DJI F550 to the Tarot 650 Sport for better flight endurance and payload capabilities, the parts finally arrived. This post chronicles the assembly, initial setup, and testing of the new Tarot 650 build.
Let the Build Begin
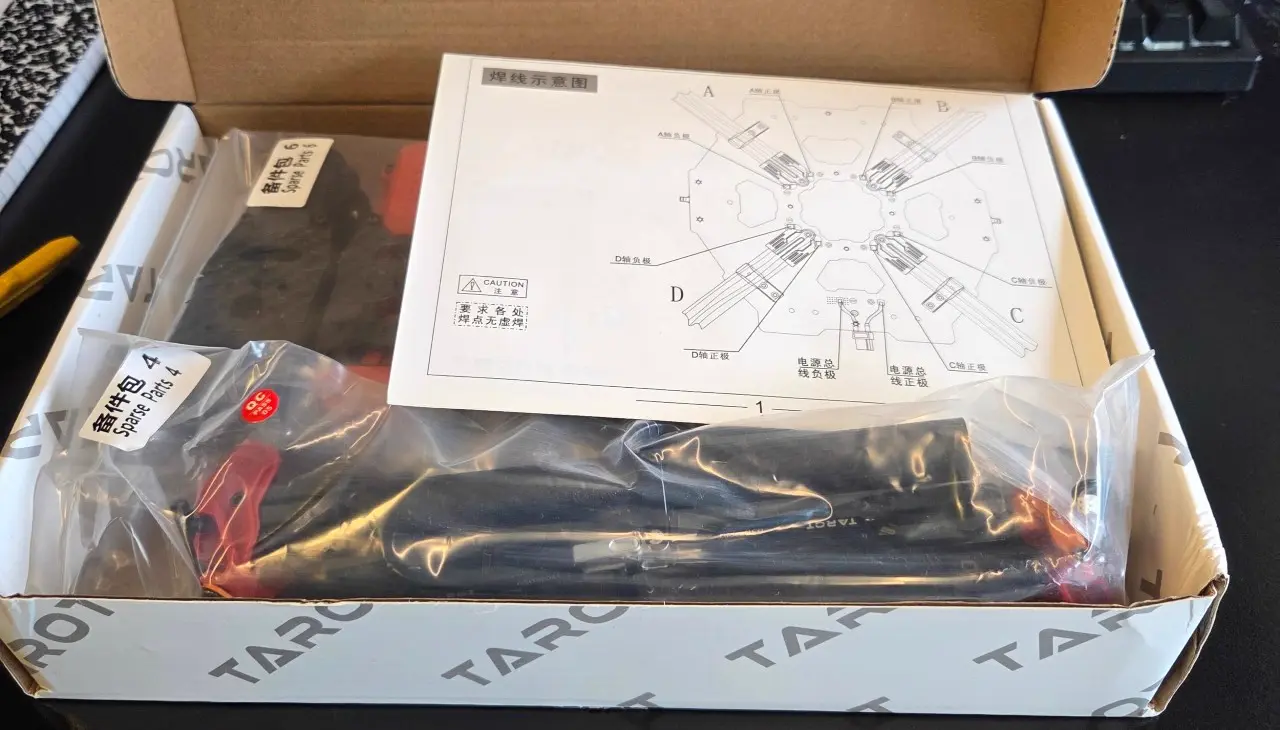
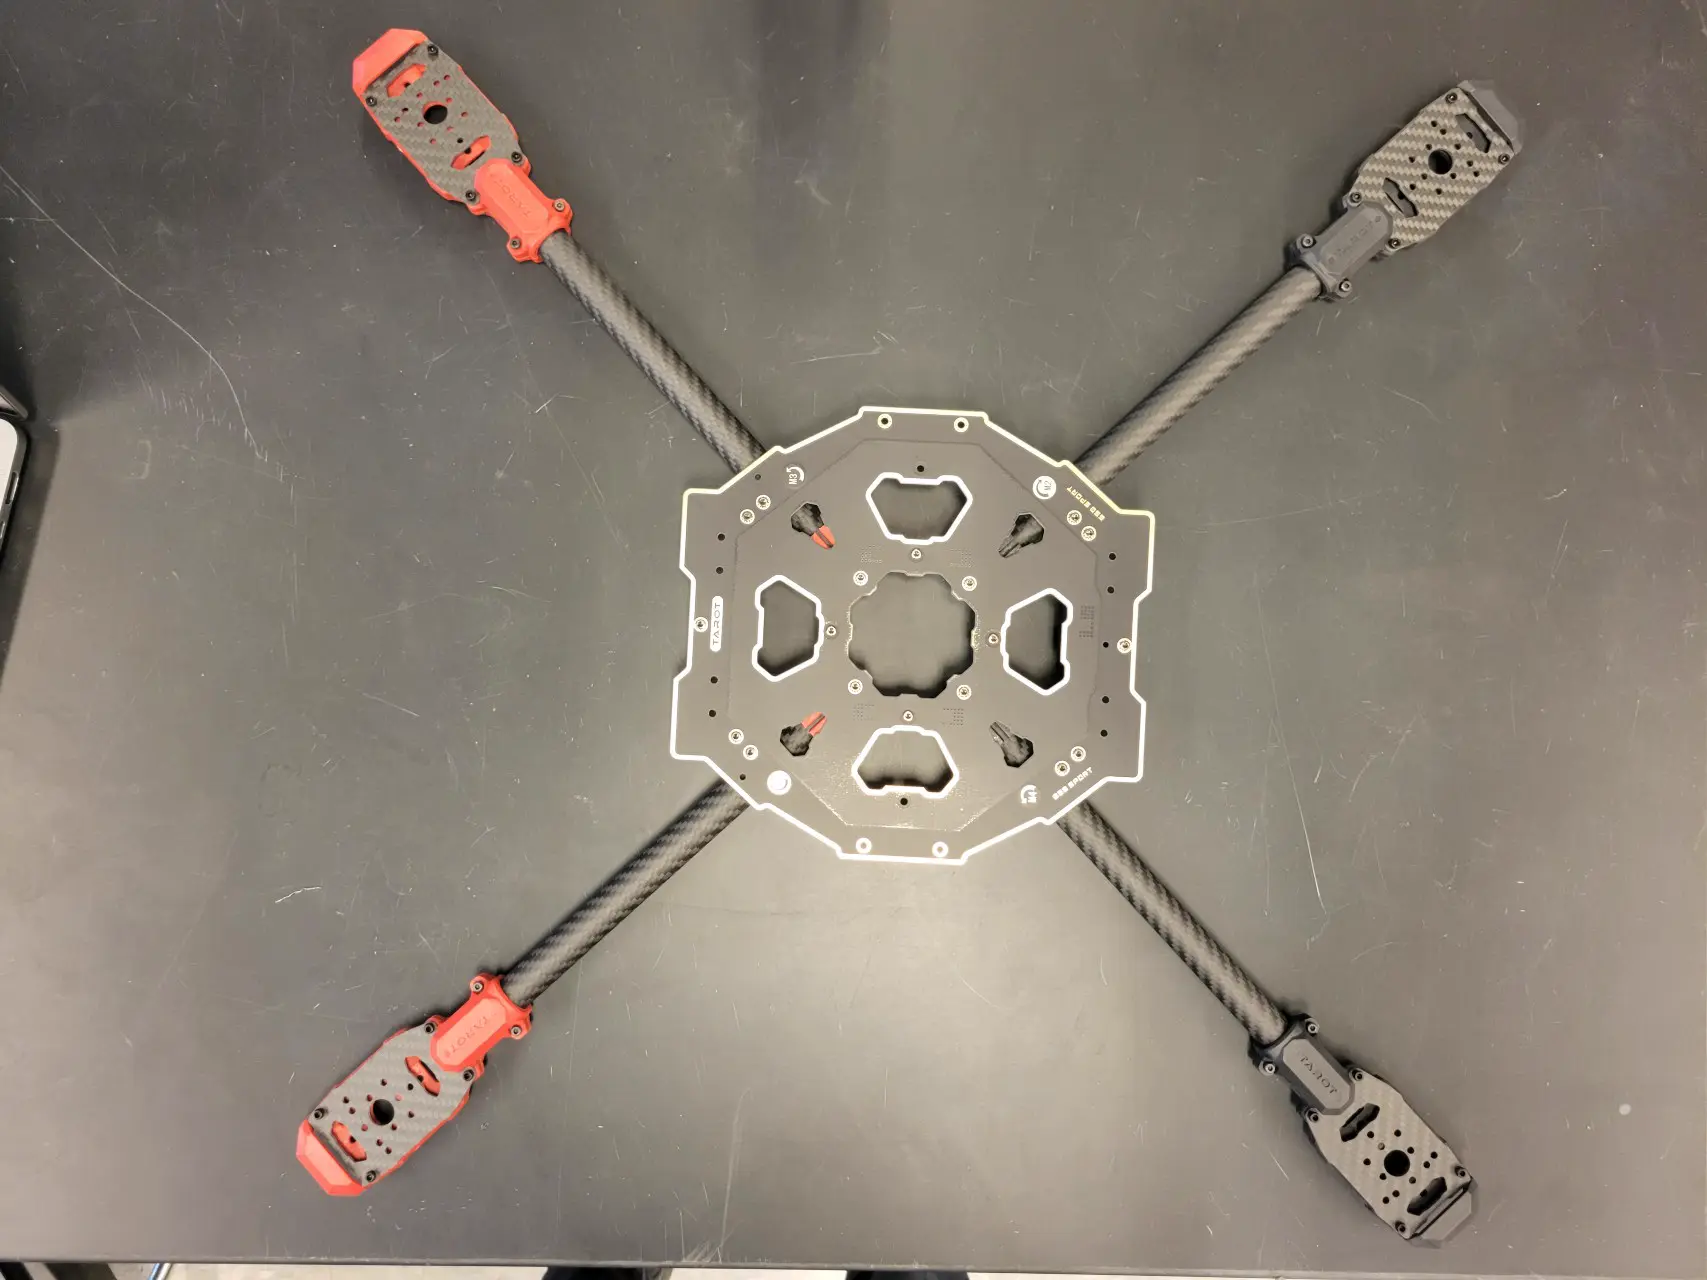
Armed with my tools and YouTube references, I began the structural assembly. A few critical layout tips when working with this carbon fiber frame:
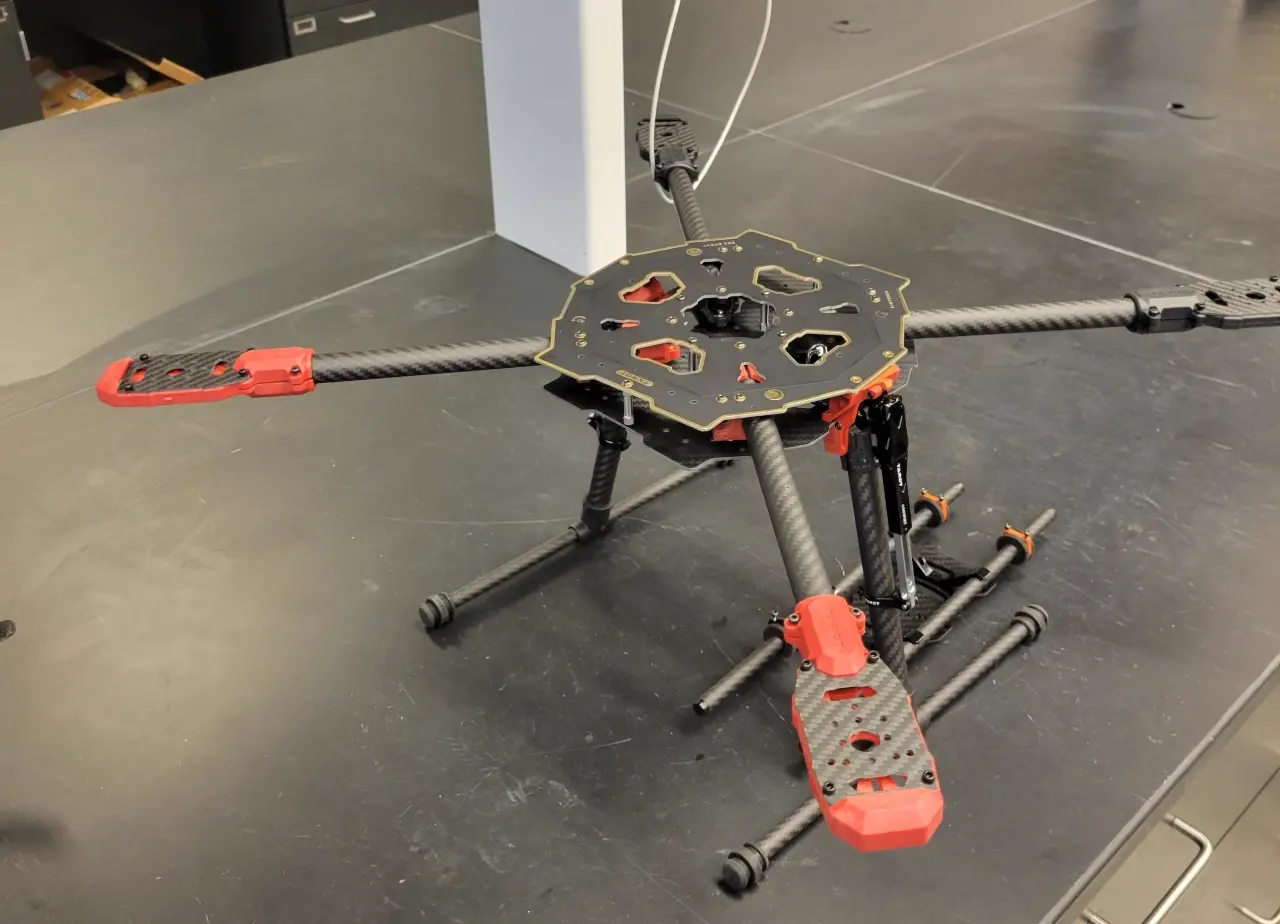
- Assemble the landing gear first: It acts as a stable stand while you build out the upper electronics.
- Use Loctite: Any screw that mounts “head-down” (underneath the frame) is prone to vibrating loose over time. Apply a drop of medium-strength Threadlocker (blue Loctite)!
The main frame assembly and motor mounting took a significant chunk of time, roughly 9 hours (554 minutes) split across a few sessions between Jan 26 and Jan 30.
Electronics and Flight Controller Setup (Feb 1, 2024)
Once the core frame was complete, I tackled the software configuration and electronics.
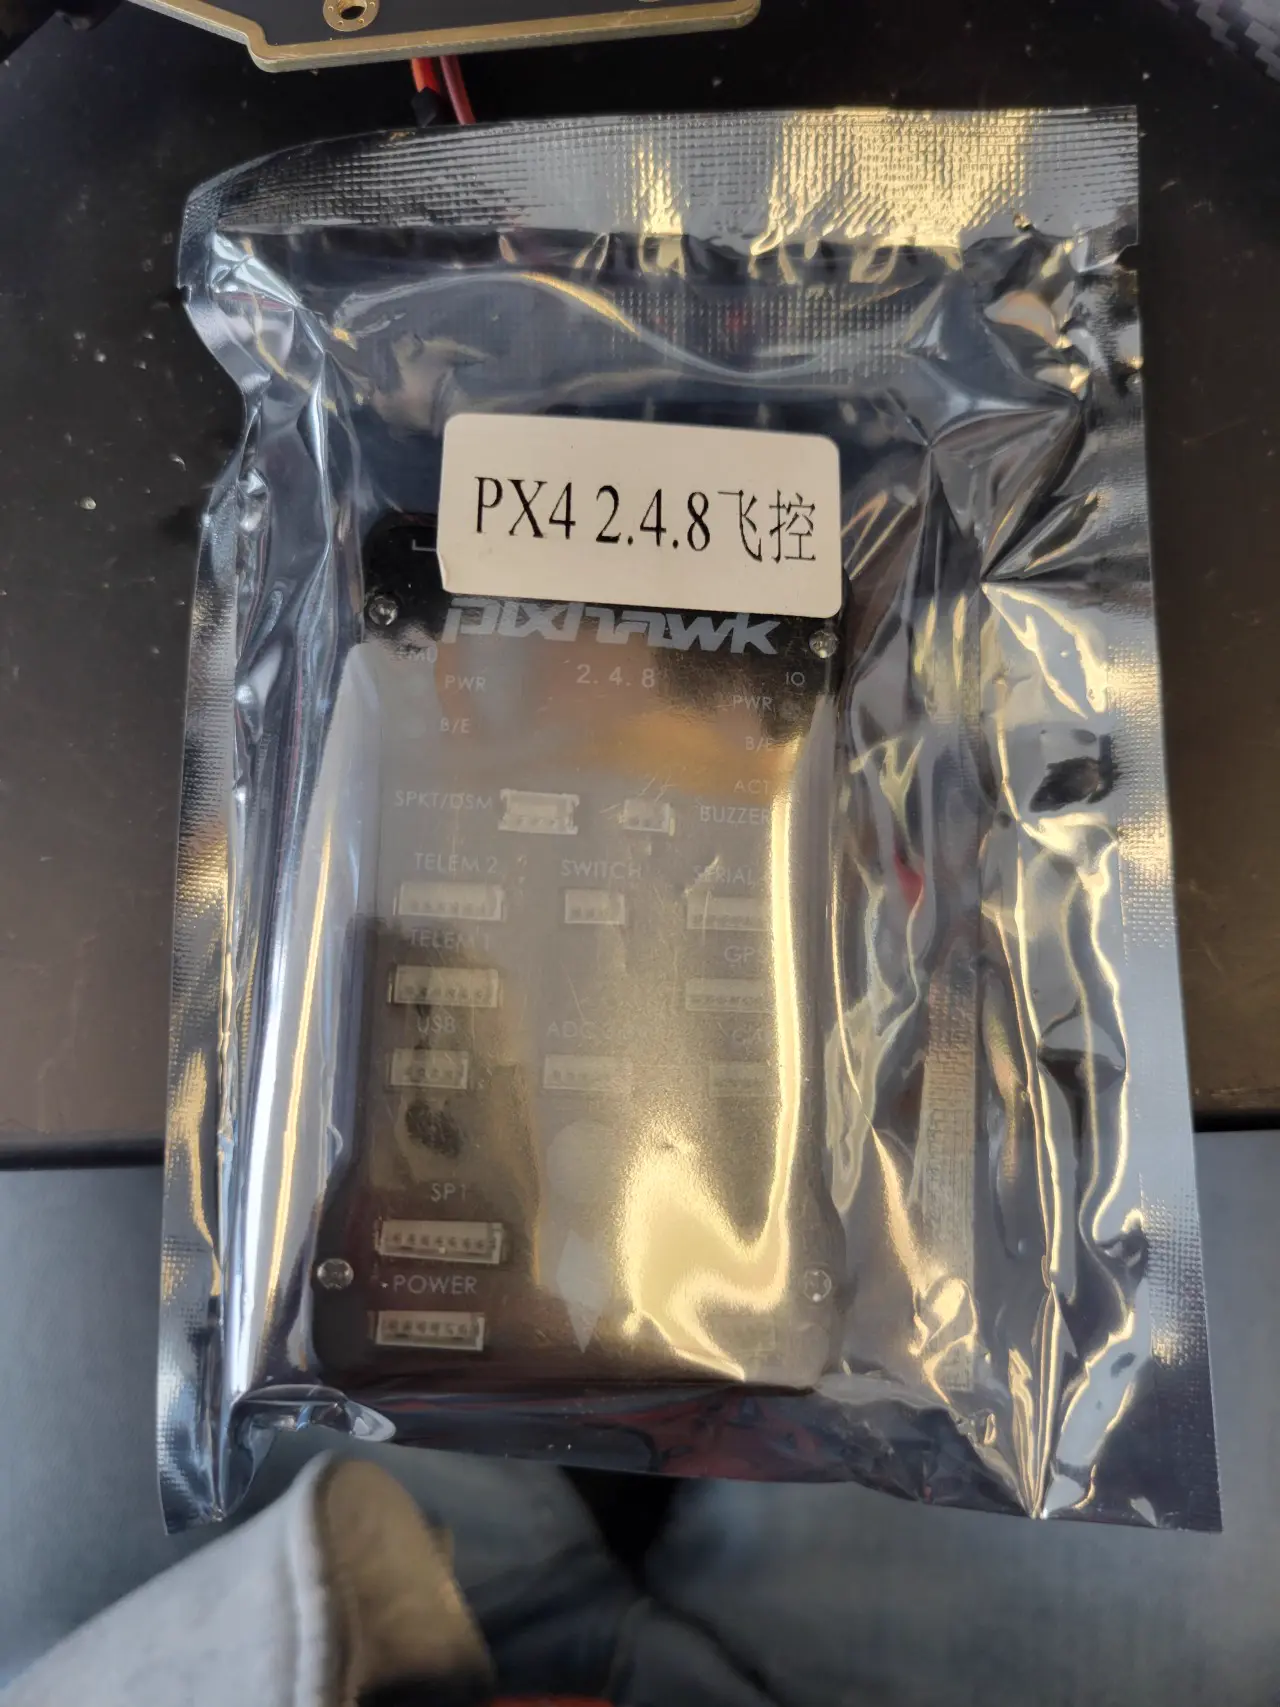
- Firmware Update: I ran into an initial
IOMCU is unhealthyerror on power-up, which was quickly resolved by flashing the firmware cleanly up to ArduCopter V4.4.4 on the Pixhawk controller. - Radio Linking: Bound the receiver and calibrated the remote.
- First Power-Up: Verified ESC calibration and that the initial PDB soldering was clean (no magic smoke!).
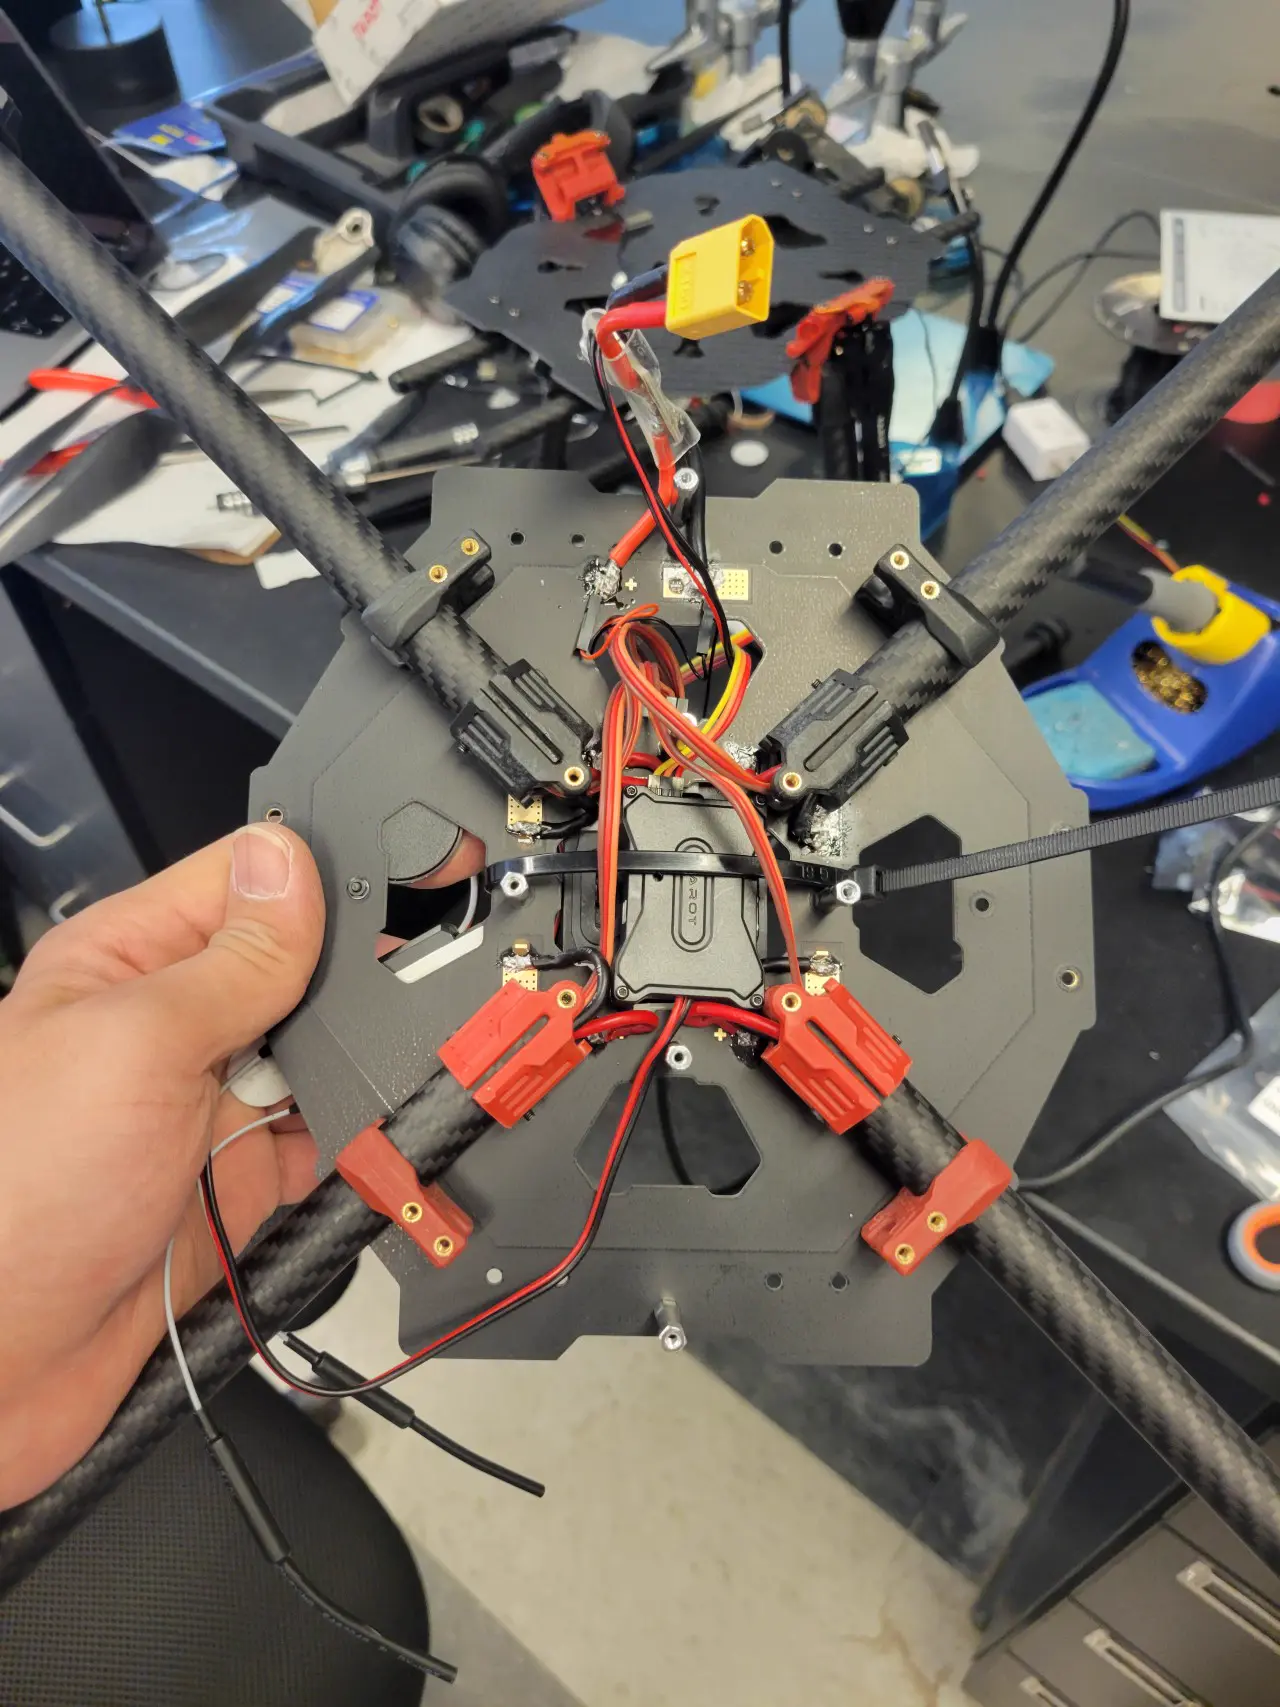
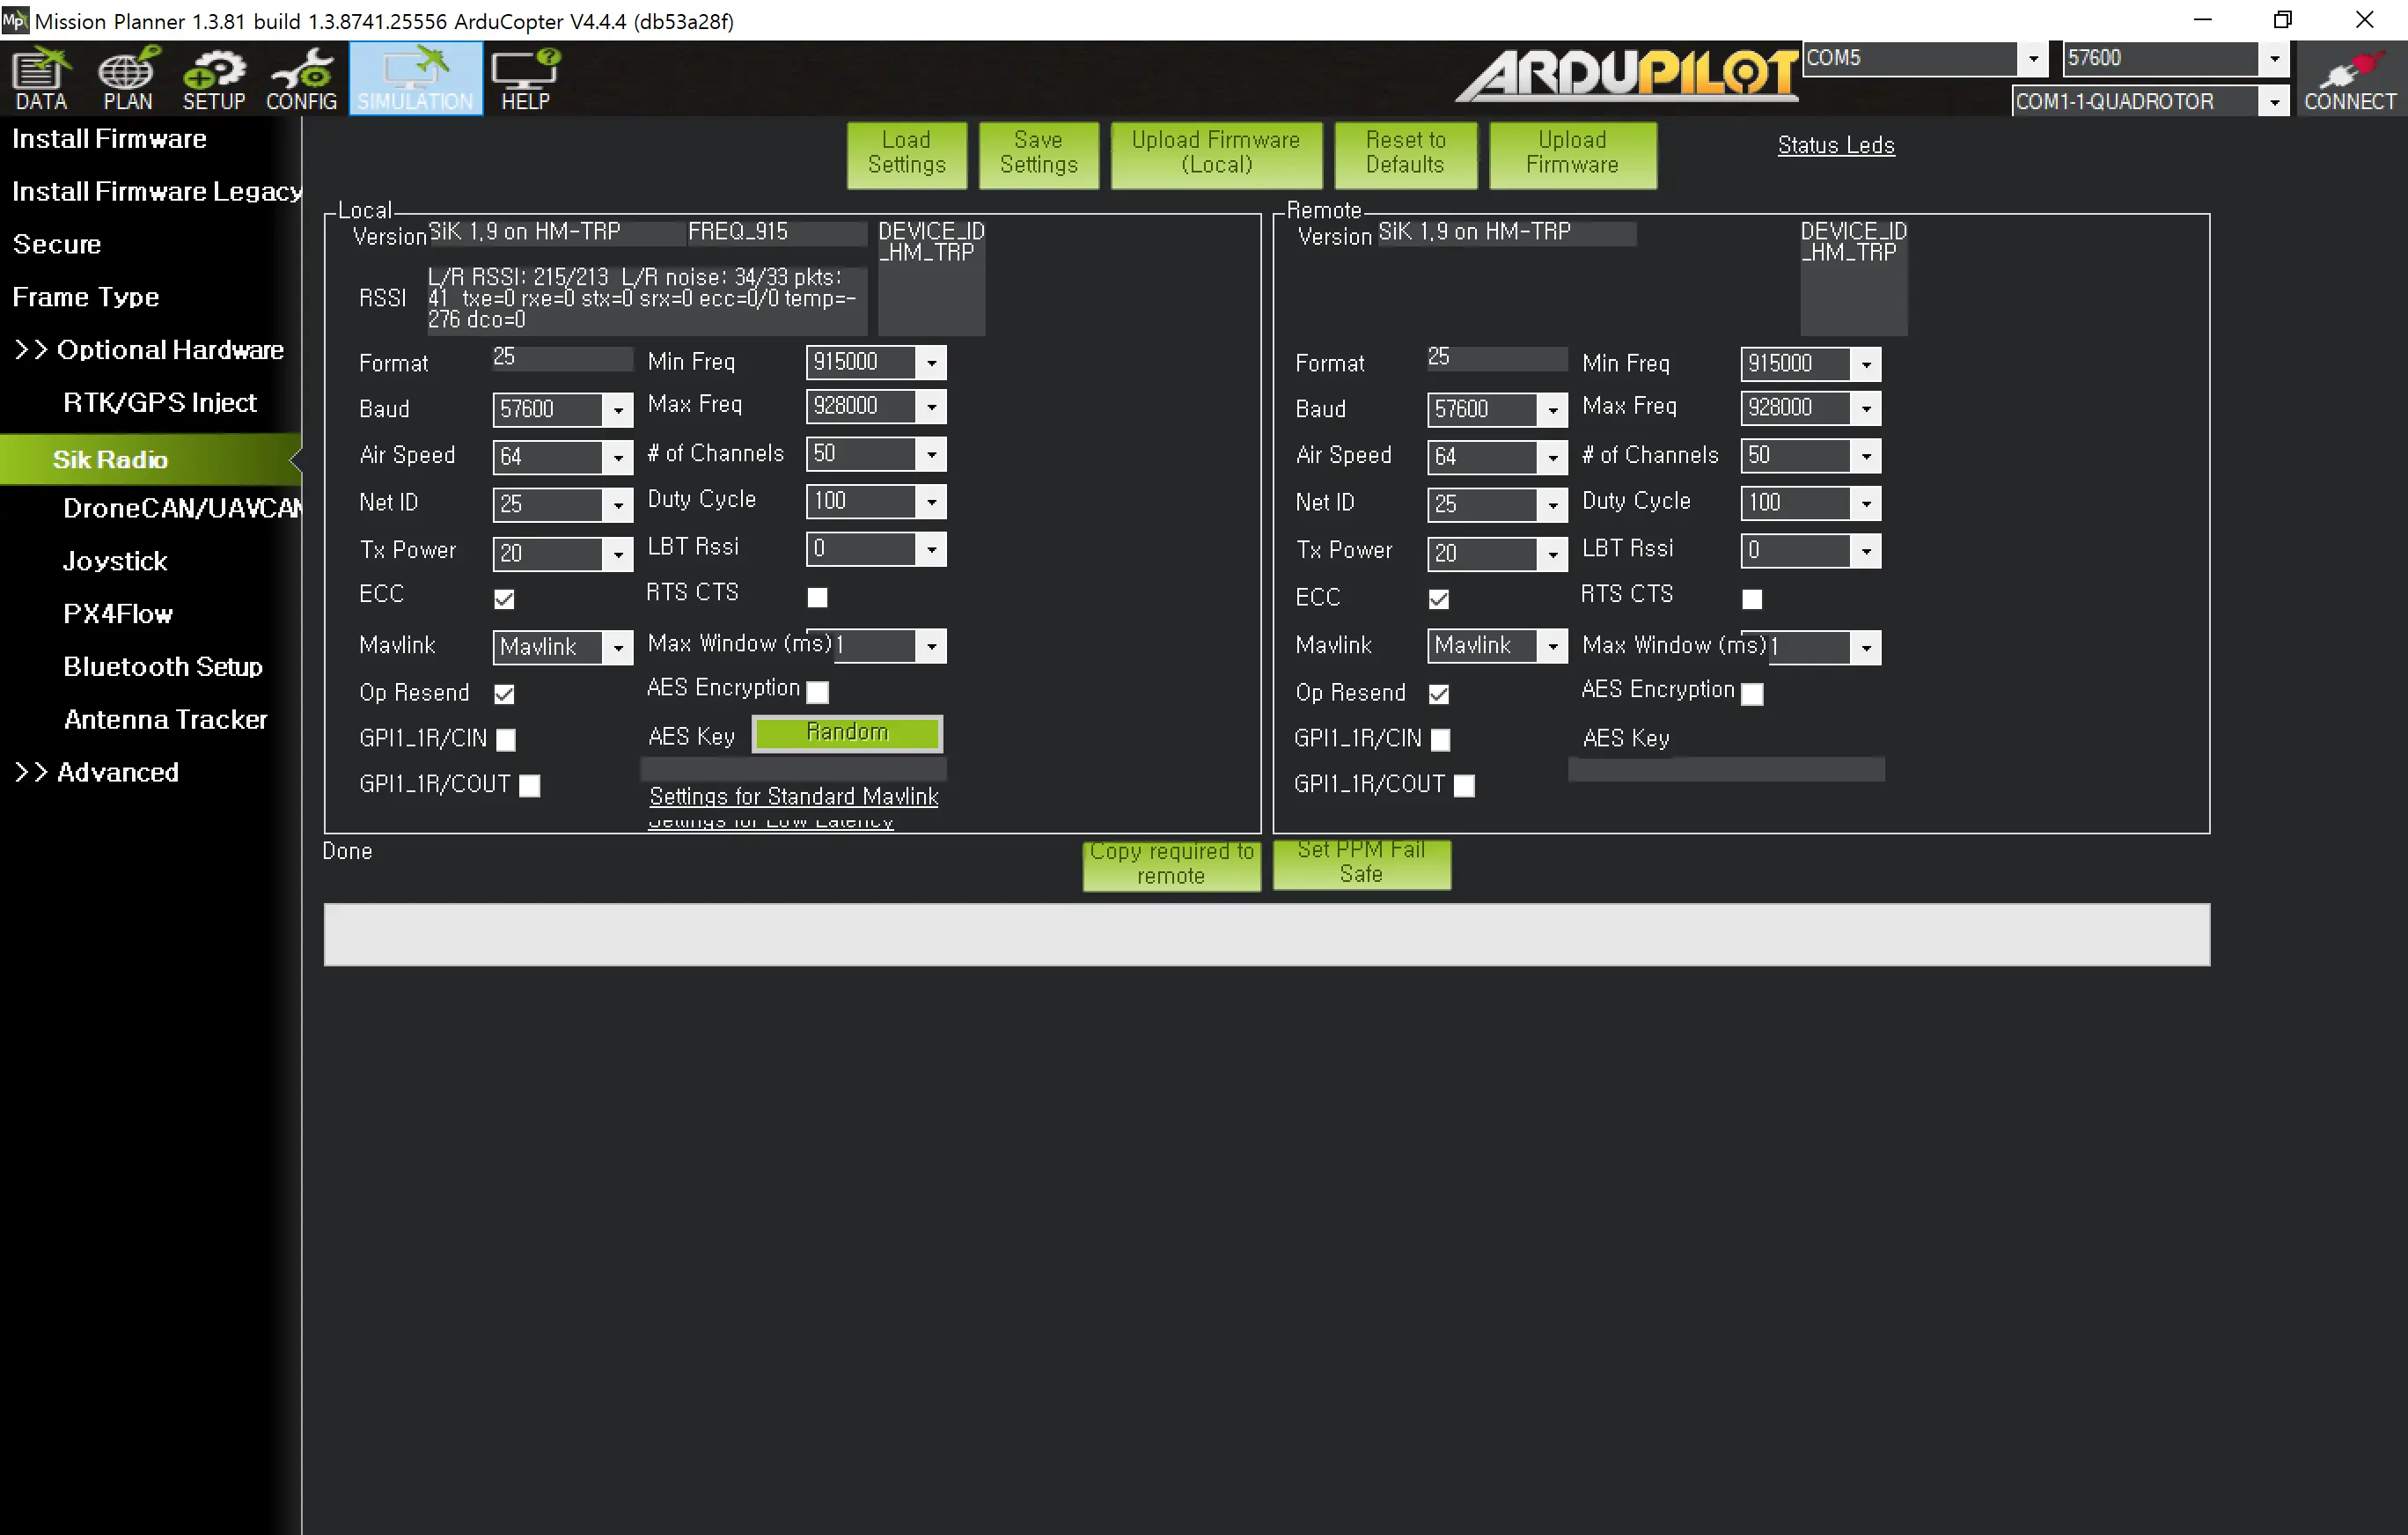
- USB Radio Module Test: Encountered a slight hurdle here: my secondary telemetry module had a communication fault. I pushed an order for a spare alongside a few other essentials like an FDDI cable, backup Tarot motors, and spare 15” folding props.
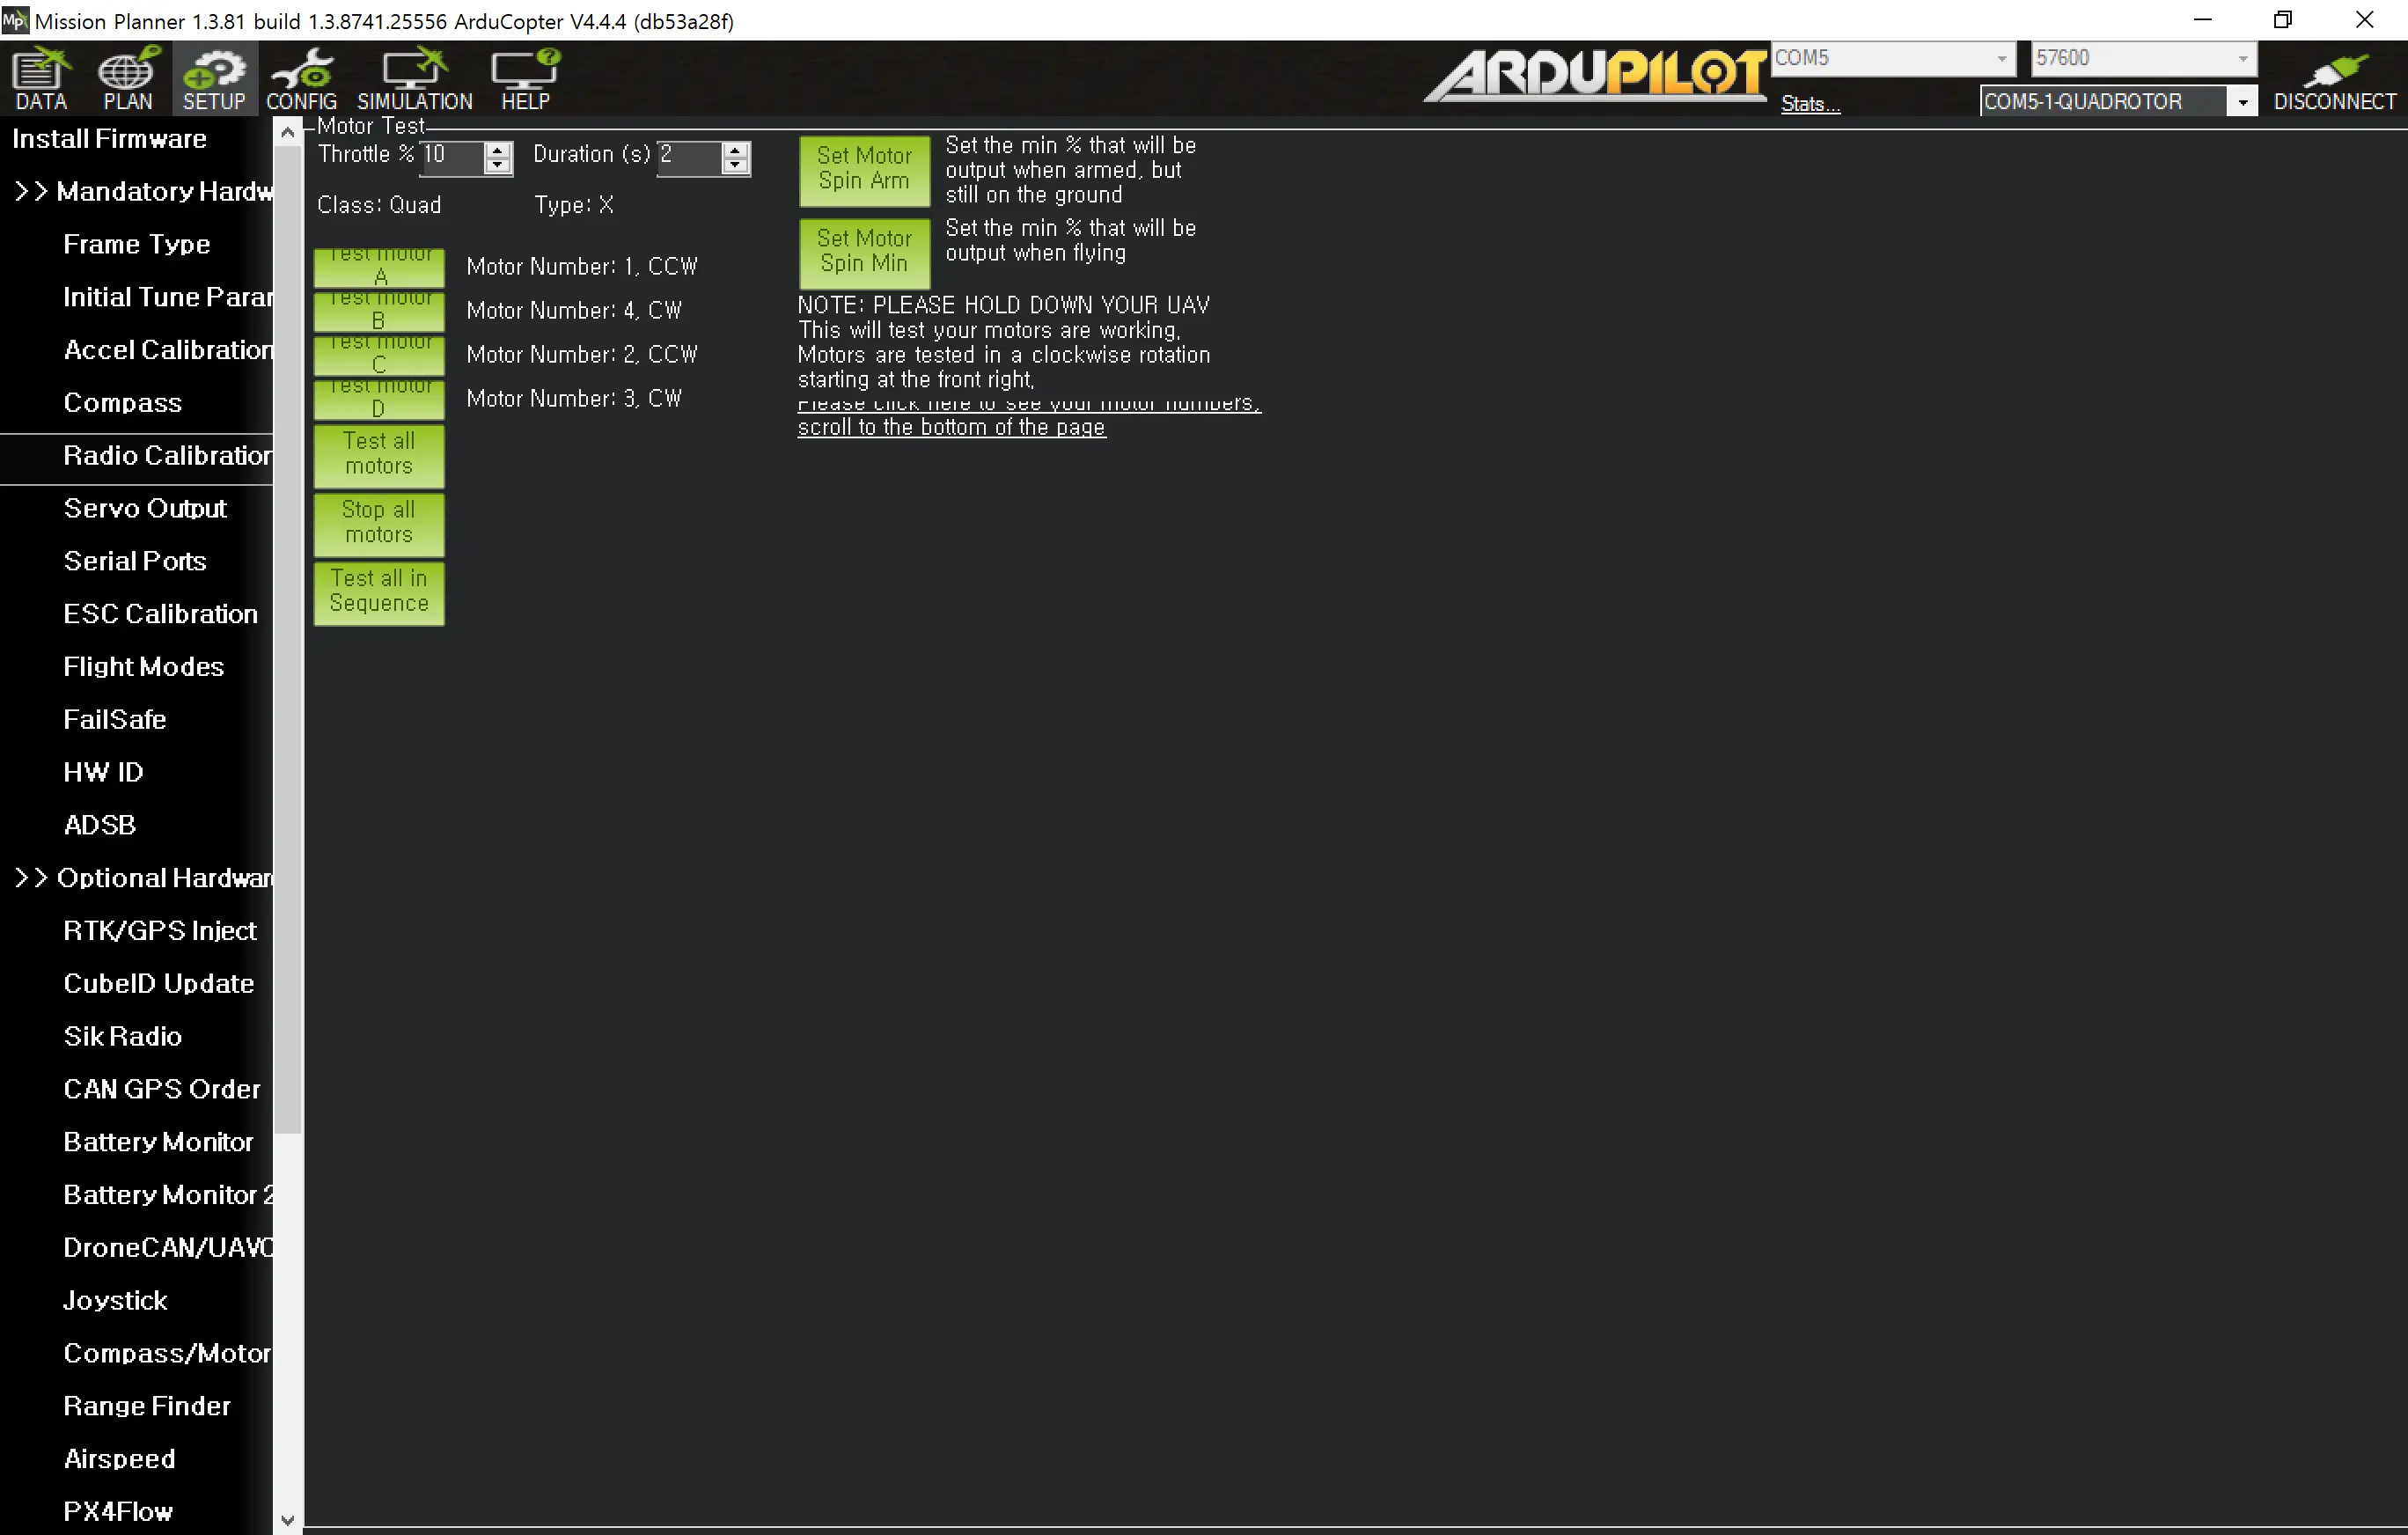
During the first motor test on the bench, I noticed that Motors 1 and 2 were spinning in the wrong direction for the quad-X configuration, which I promptly reversed.
Configuring the Retractable Landing Gear
The Tarot 650 Sport features motorized retractable landing gear, which is amazing for keeping legs out of your payload’s field of view (like a 360 camera or LiDAR). I configured the auxiliary RC channel in Ardupilot to toggle the gear state automatically upon reaching a safe altitude.
Finalizing the Build Specs
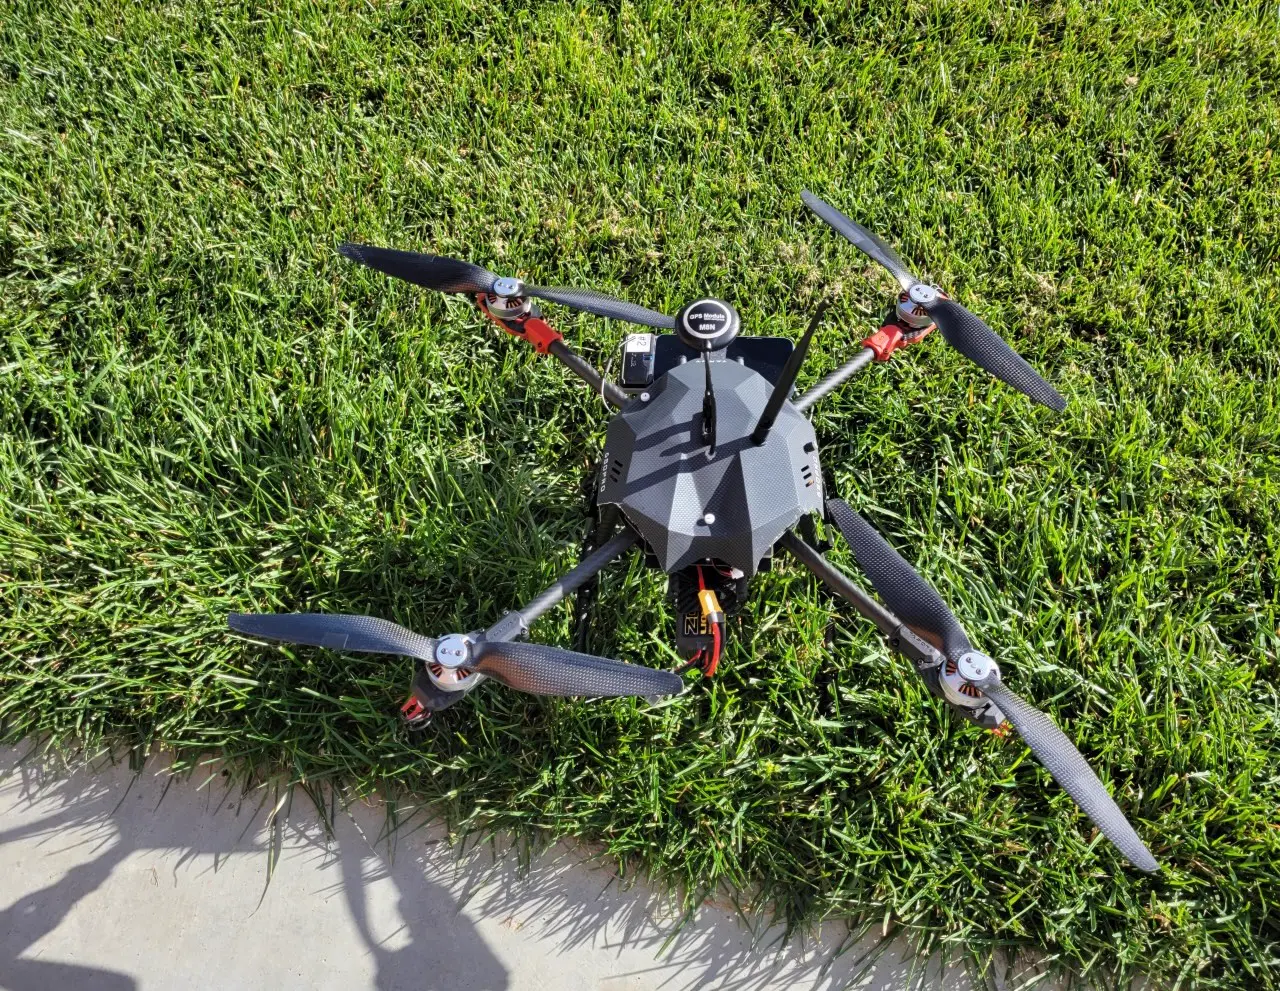
Assembling the outer shell and bringing the whole unit together for final bench checks.
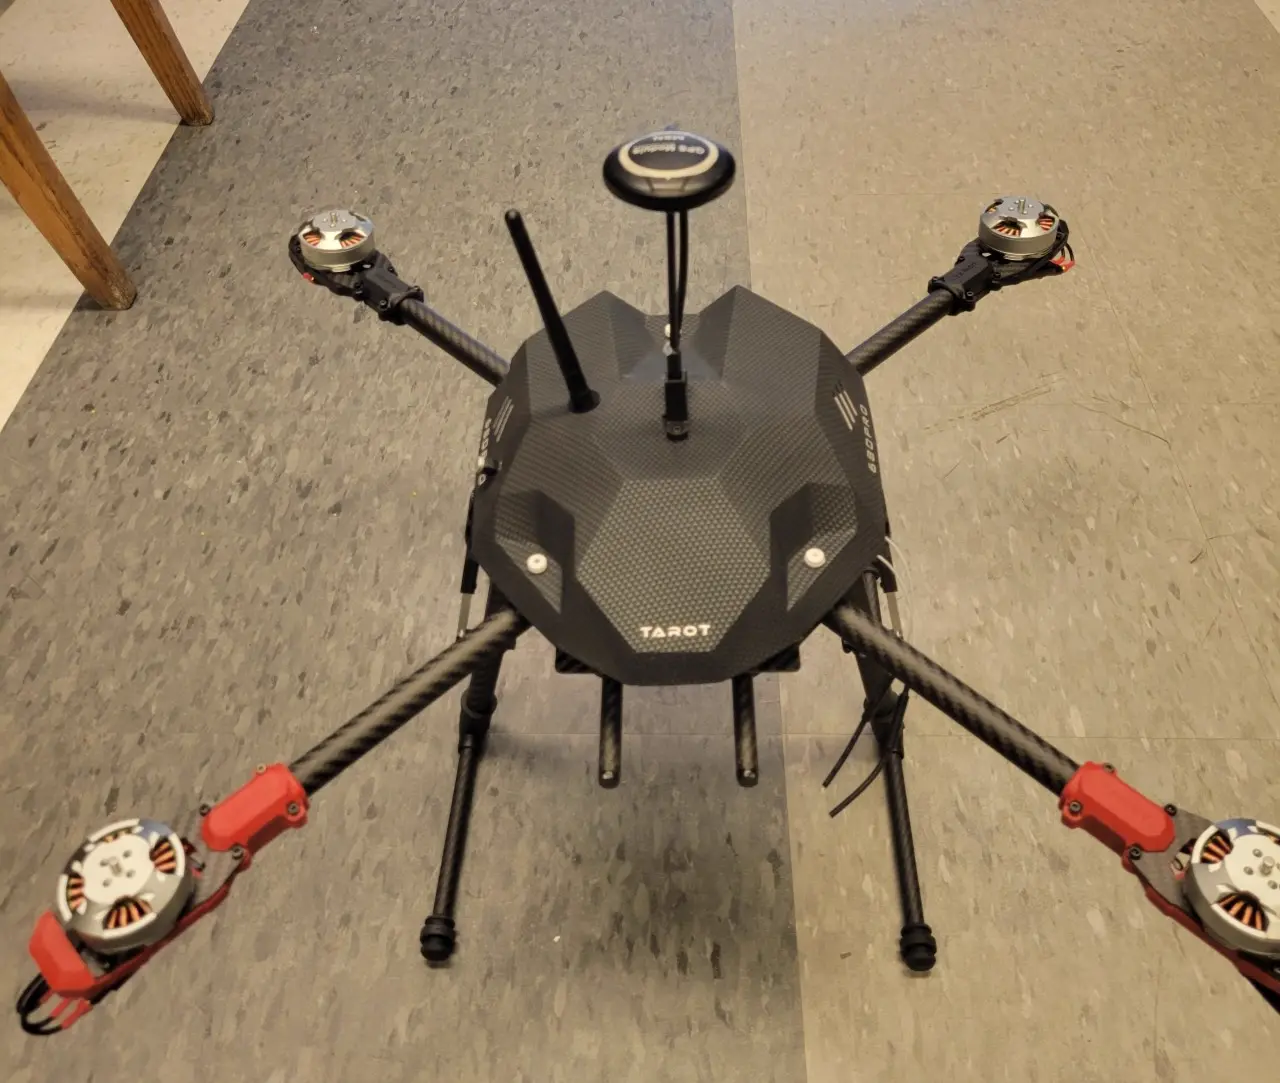
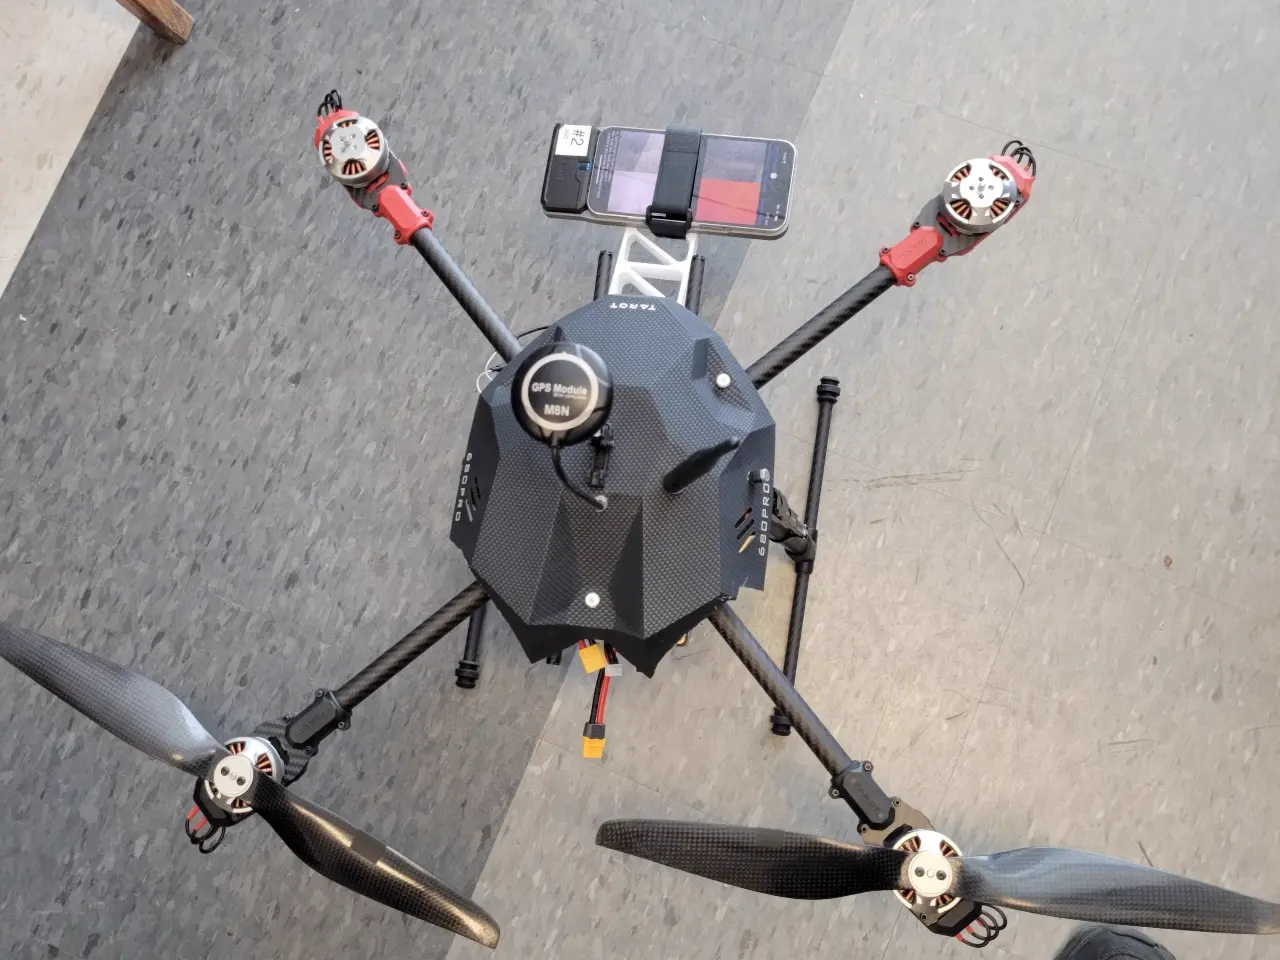
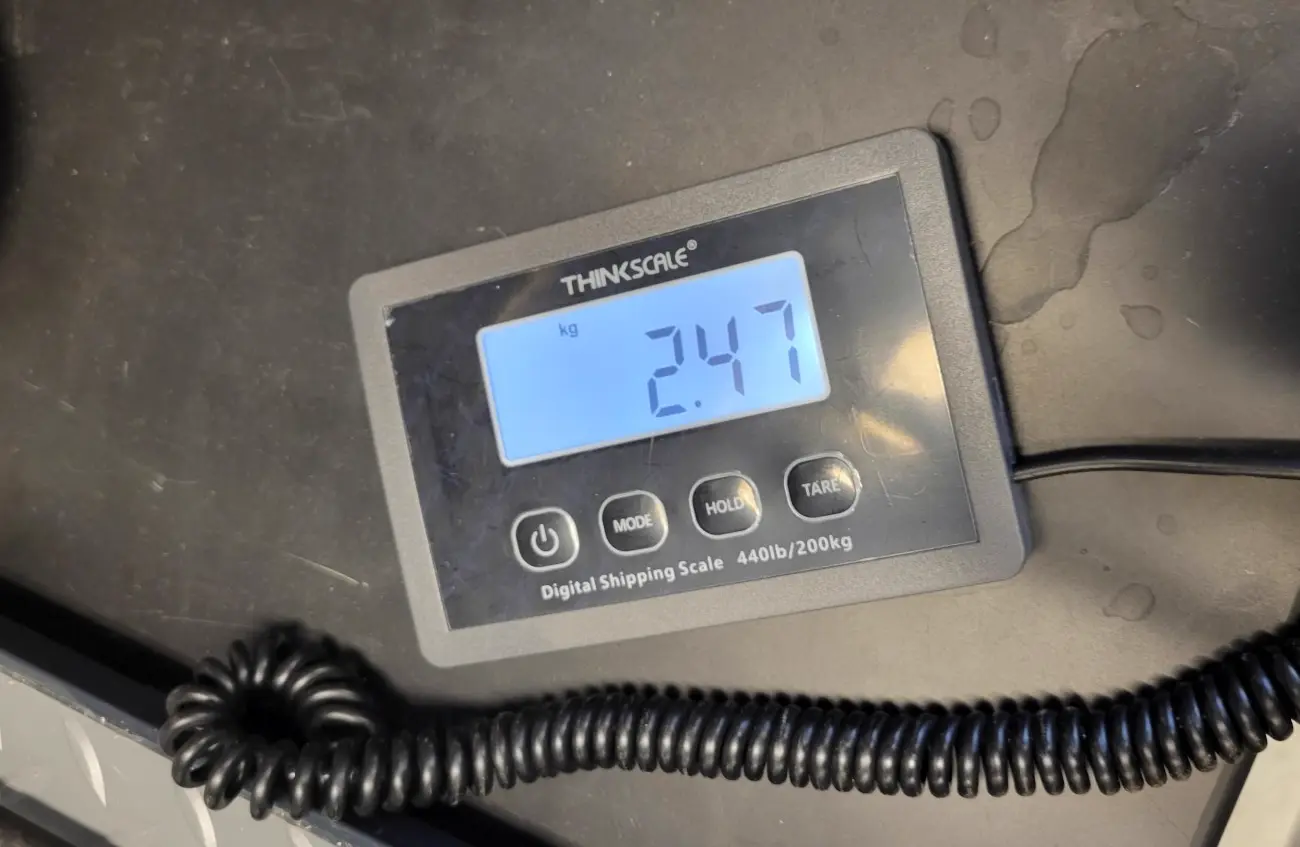
Flight Testing and PID Tuning (Feb 2, 2024)
With the drone built and spinning properly, I moved on to bench tests and initial tuning. Running 380KV motors on massive 15-inch props requires drastically different PID loops than a smaller drone so that the frame doesn’t oscillate aggressively during inputs.
Battery Tests: 4S vs 6S
One of the most revealing parts of the maiden flight was evaluating the battery configurations:
- 4S Battery Test (Failure): I initially tried taking off with a 4S LiPo. The voltage sag under load was too extreme, and the drone felt frustratingly “sluggish” due to insufficient thrust. It consumed roughly 256 mAh/min, which mathematically would have yielded 31 minutes theoretically with a 10,000mAh pack, but the voltage dropped too fast to be safe.
- 6S Battery Test (Success): Switching to the 6S battery made a night-and-day difference in stability. Telemetry analysis showed a much more efficient draw of around 195 mAh/min. If using 80% capacity of a 7000mAh pack, this yields a highly reliable estimated flight time of 28.6 minutes! This directly confirms my earlier eCalc simulations computationally!
Note: For the 6S configuration, I set the safe minimum landing voltage limit to roughly ~20V (3.3V per cell) to prevent damage.

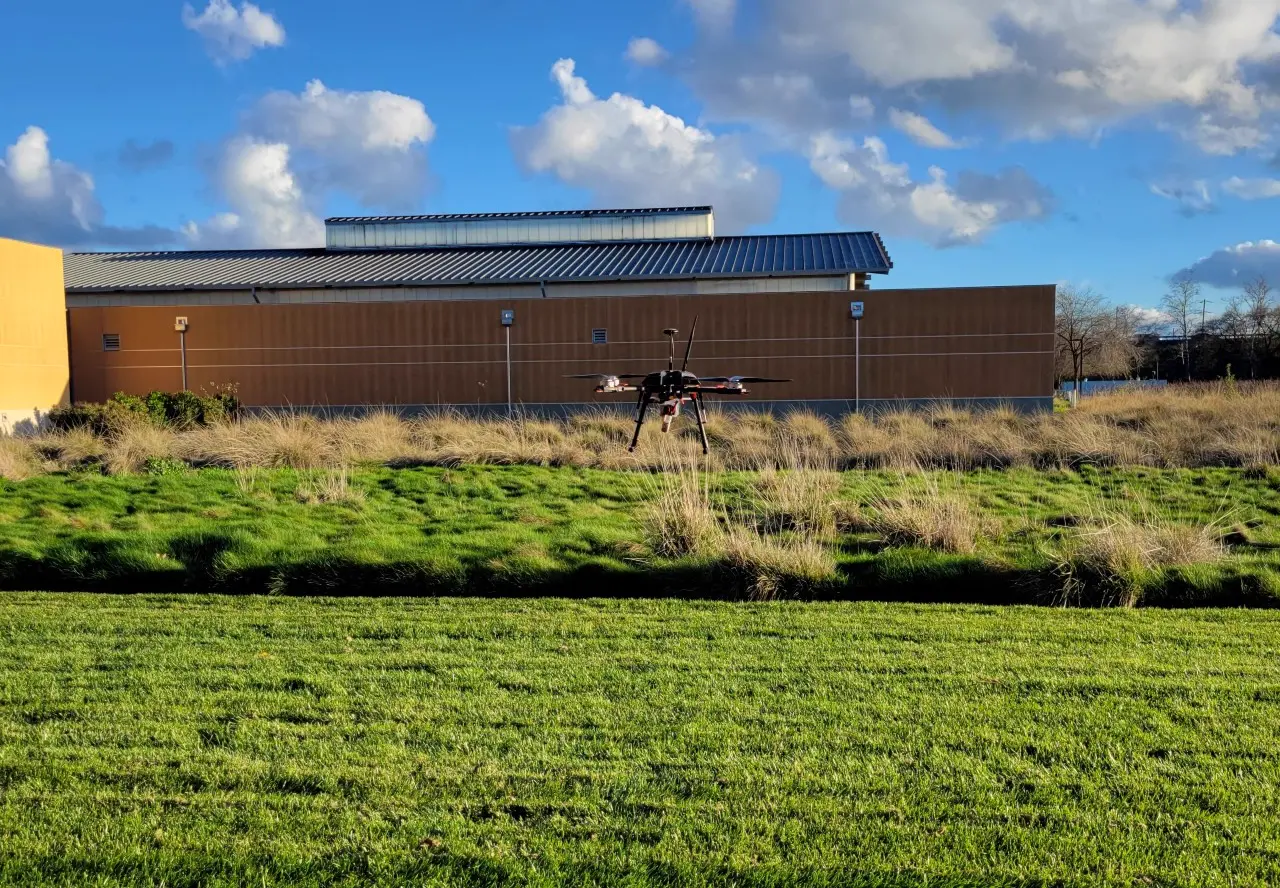
Overall, checking the basic hovering telemetry was a huge success. The upgraded efficiency is immediately noticeable versus the F550 setup. While I still need to fix some minor vibrations causing camera blur on my iPhone mounts, the platform itself is finally locked in.
Conclusion
The jump from the DJI F550 to the Tarot 650 Sport is remarkable. Building a custom rig like this from raw carbon fiber plates requires nearly 10 hours of patience, but the result is a massive, heavy-lift quadcopter capable of holding significant scientific payloads.
Next up in the pipeline is integrating complex sensors like LiDAR and GPS, though that introduces an entirely new set of electromagnetic interference challenges!